
How to always take the sharpest photos possible (it is harder than you think)
Overrated virtue of a photograph
One of the important (though certainly not the most important) elements of a successful photograph is sharpness. Today, I will share with you some techniques and tips for achieving sharp images, regardless of your skill level.
Personally, I believe that sharpness is a rather overrated technical virtue of a photograph. The value of an image has never been elevated or diminished by its degree of sharpness.
Nevertheless, you will surely be surprised by how many factors affect the sharpness of a photograph!
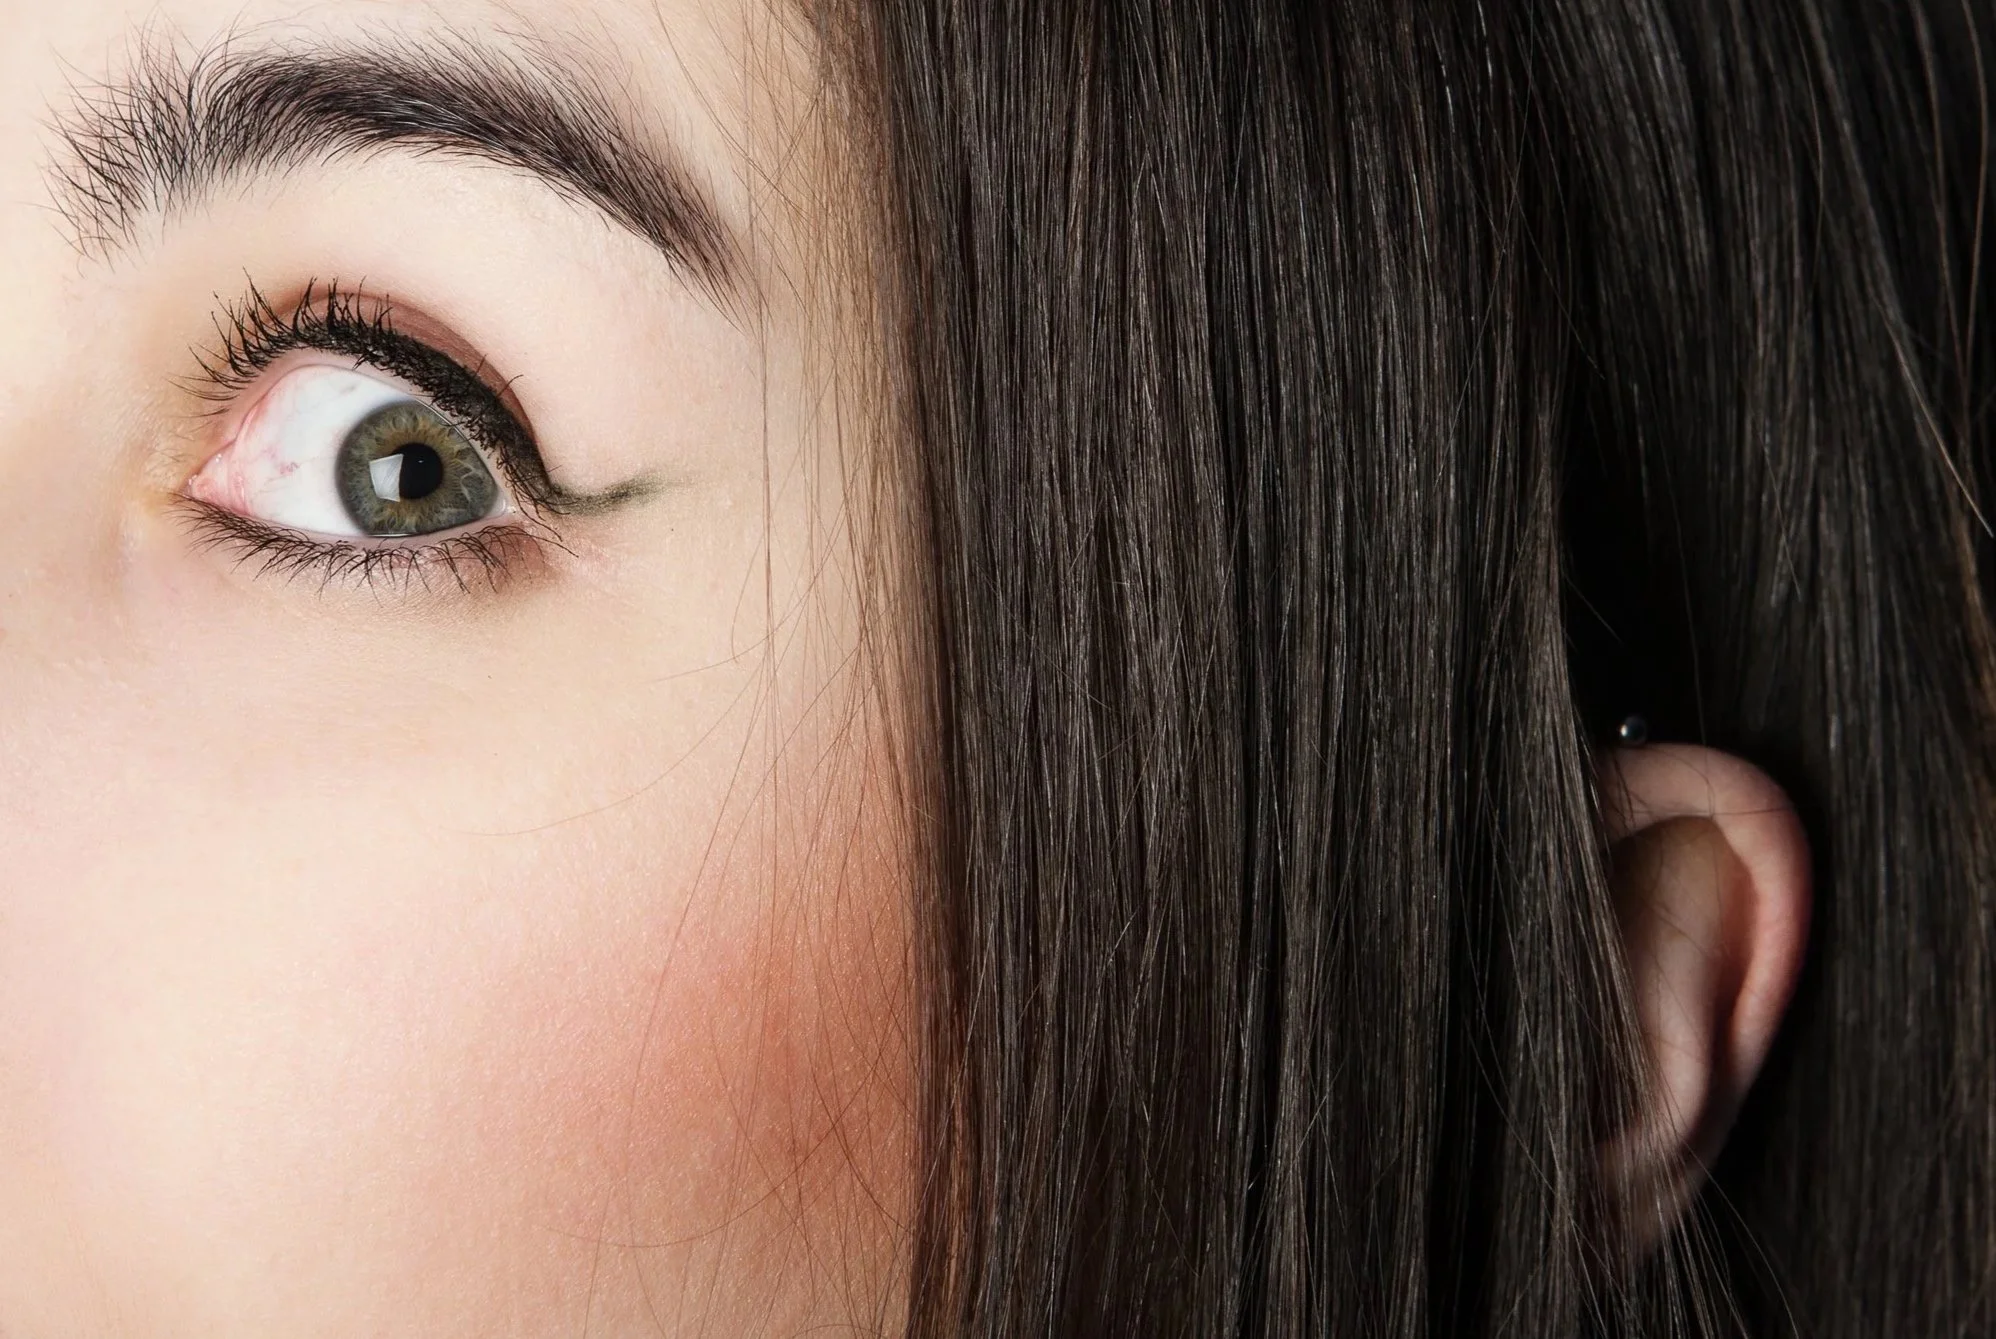
What does a sharp image mean?
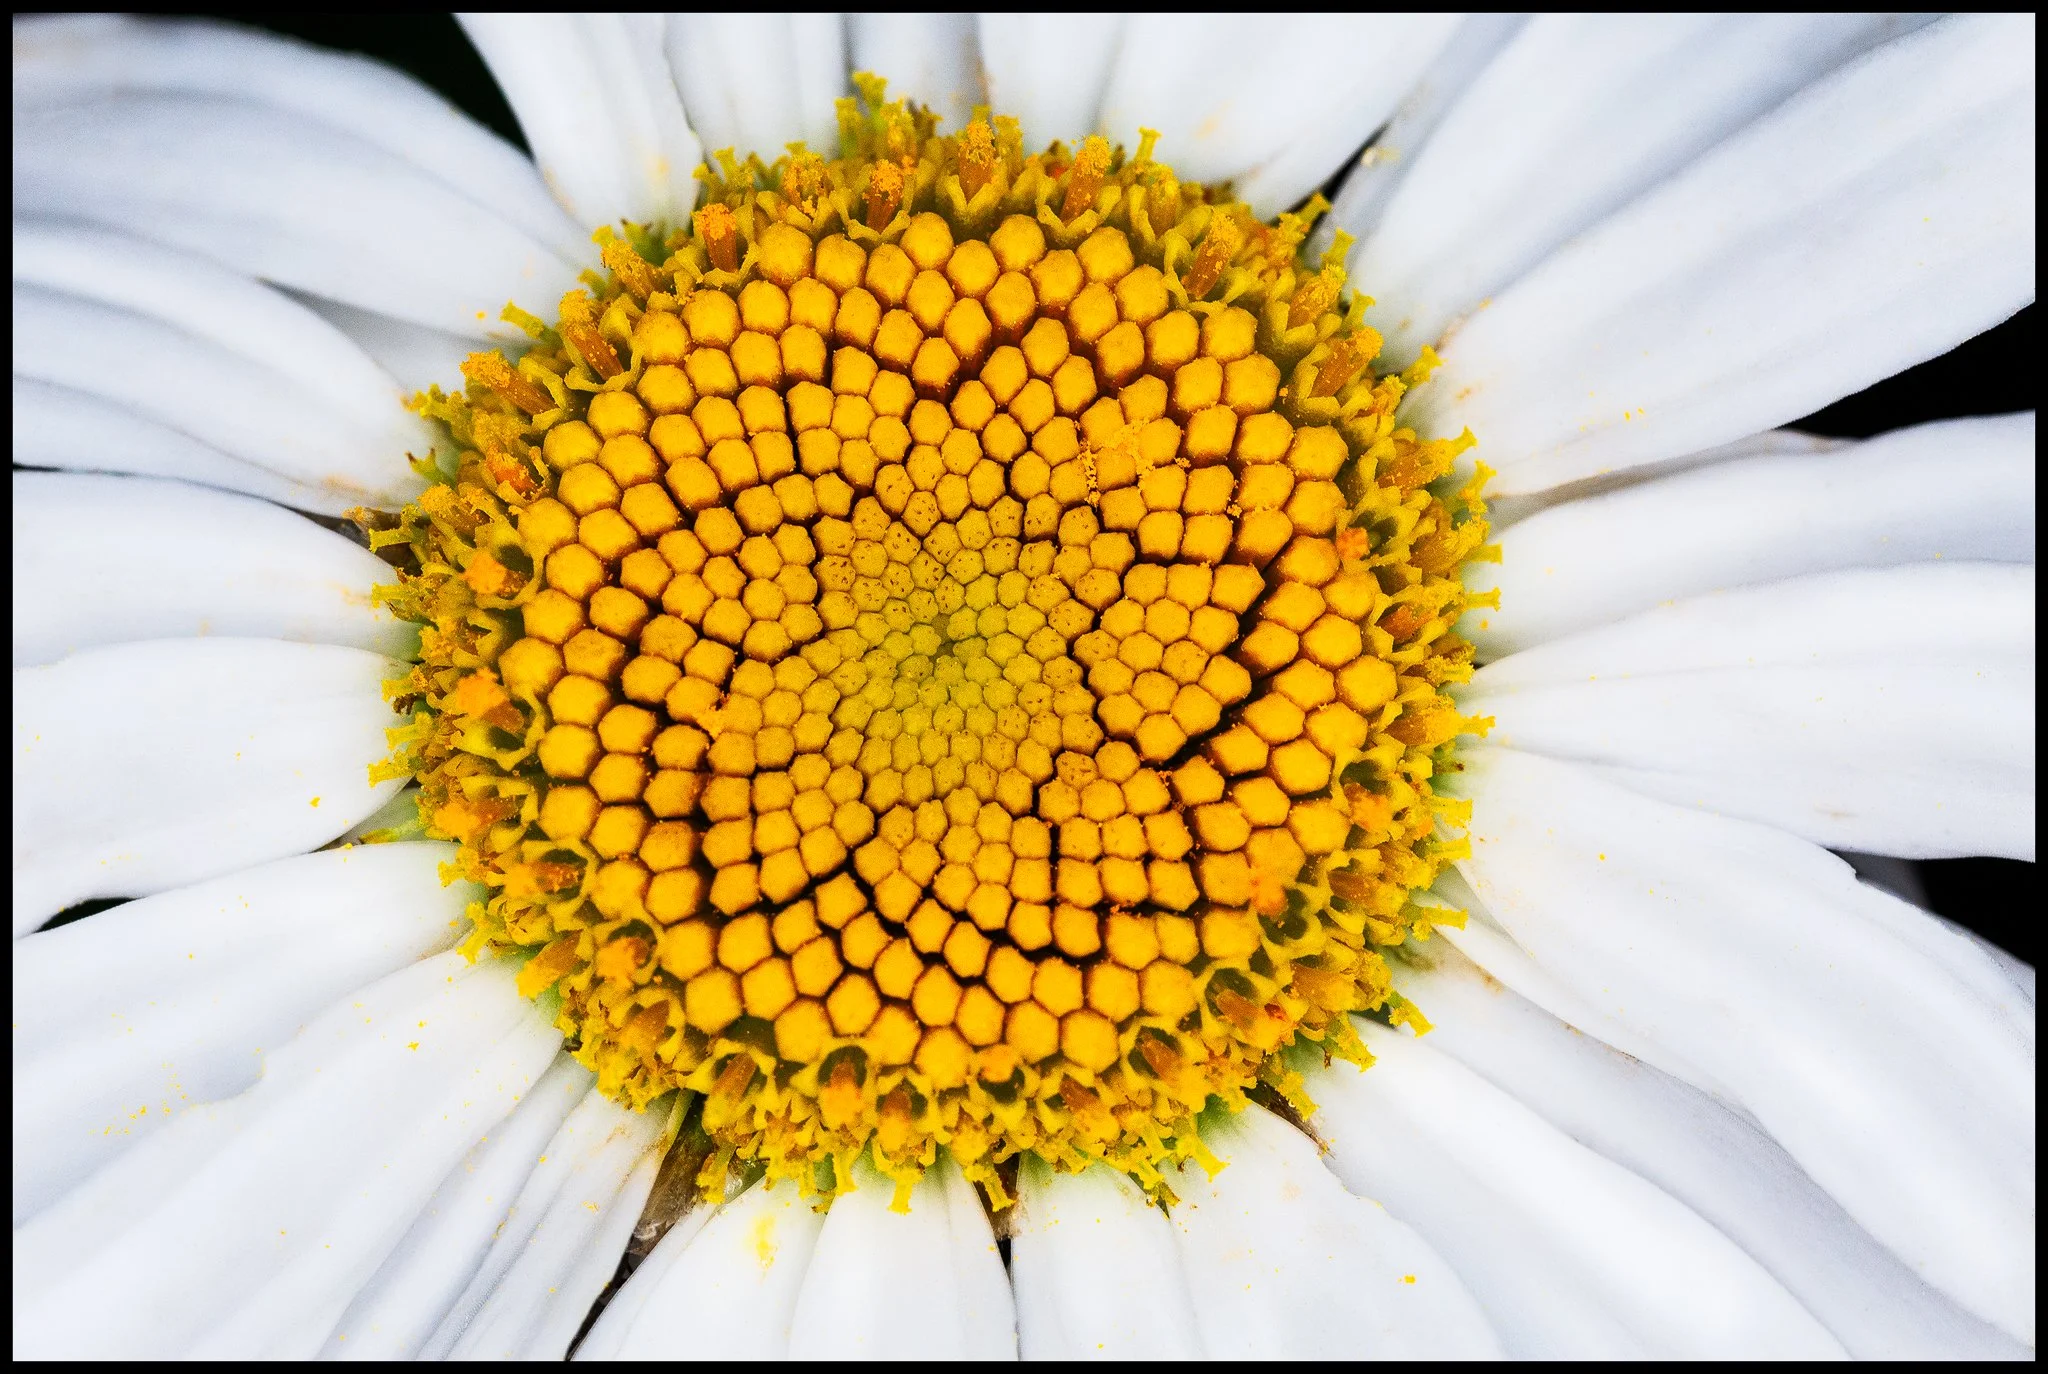
The term "sharpness" essentially represents an illusion. The human eye perceives edges as sharpness, as well as shadows and highlights as depth in an object. Simply put, what makes a photo sharp is having a light-colored pixel next to a dark pixel with very few gray pixels in between. When you use any sharpening method in post-processing, all you are essentially doing is taking those edges (the dark and light pixels) and adding contrast to them. If you pixel peep an image that you have sharpened, you will see the intense contrast between the dark and light pixels.
In practice, dark colors should become even darker and light colors should become even lighter. At the same time, there should be shades in the bright spots and shadows.
Finally, it helps to have contrast around our main subject. It gives the illusion of more sharpness than there probably is.

“Sharpness is a bourgeois concept”
Lens Selection: Prime or Zoom?
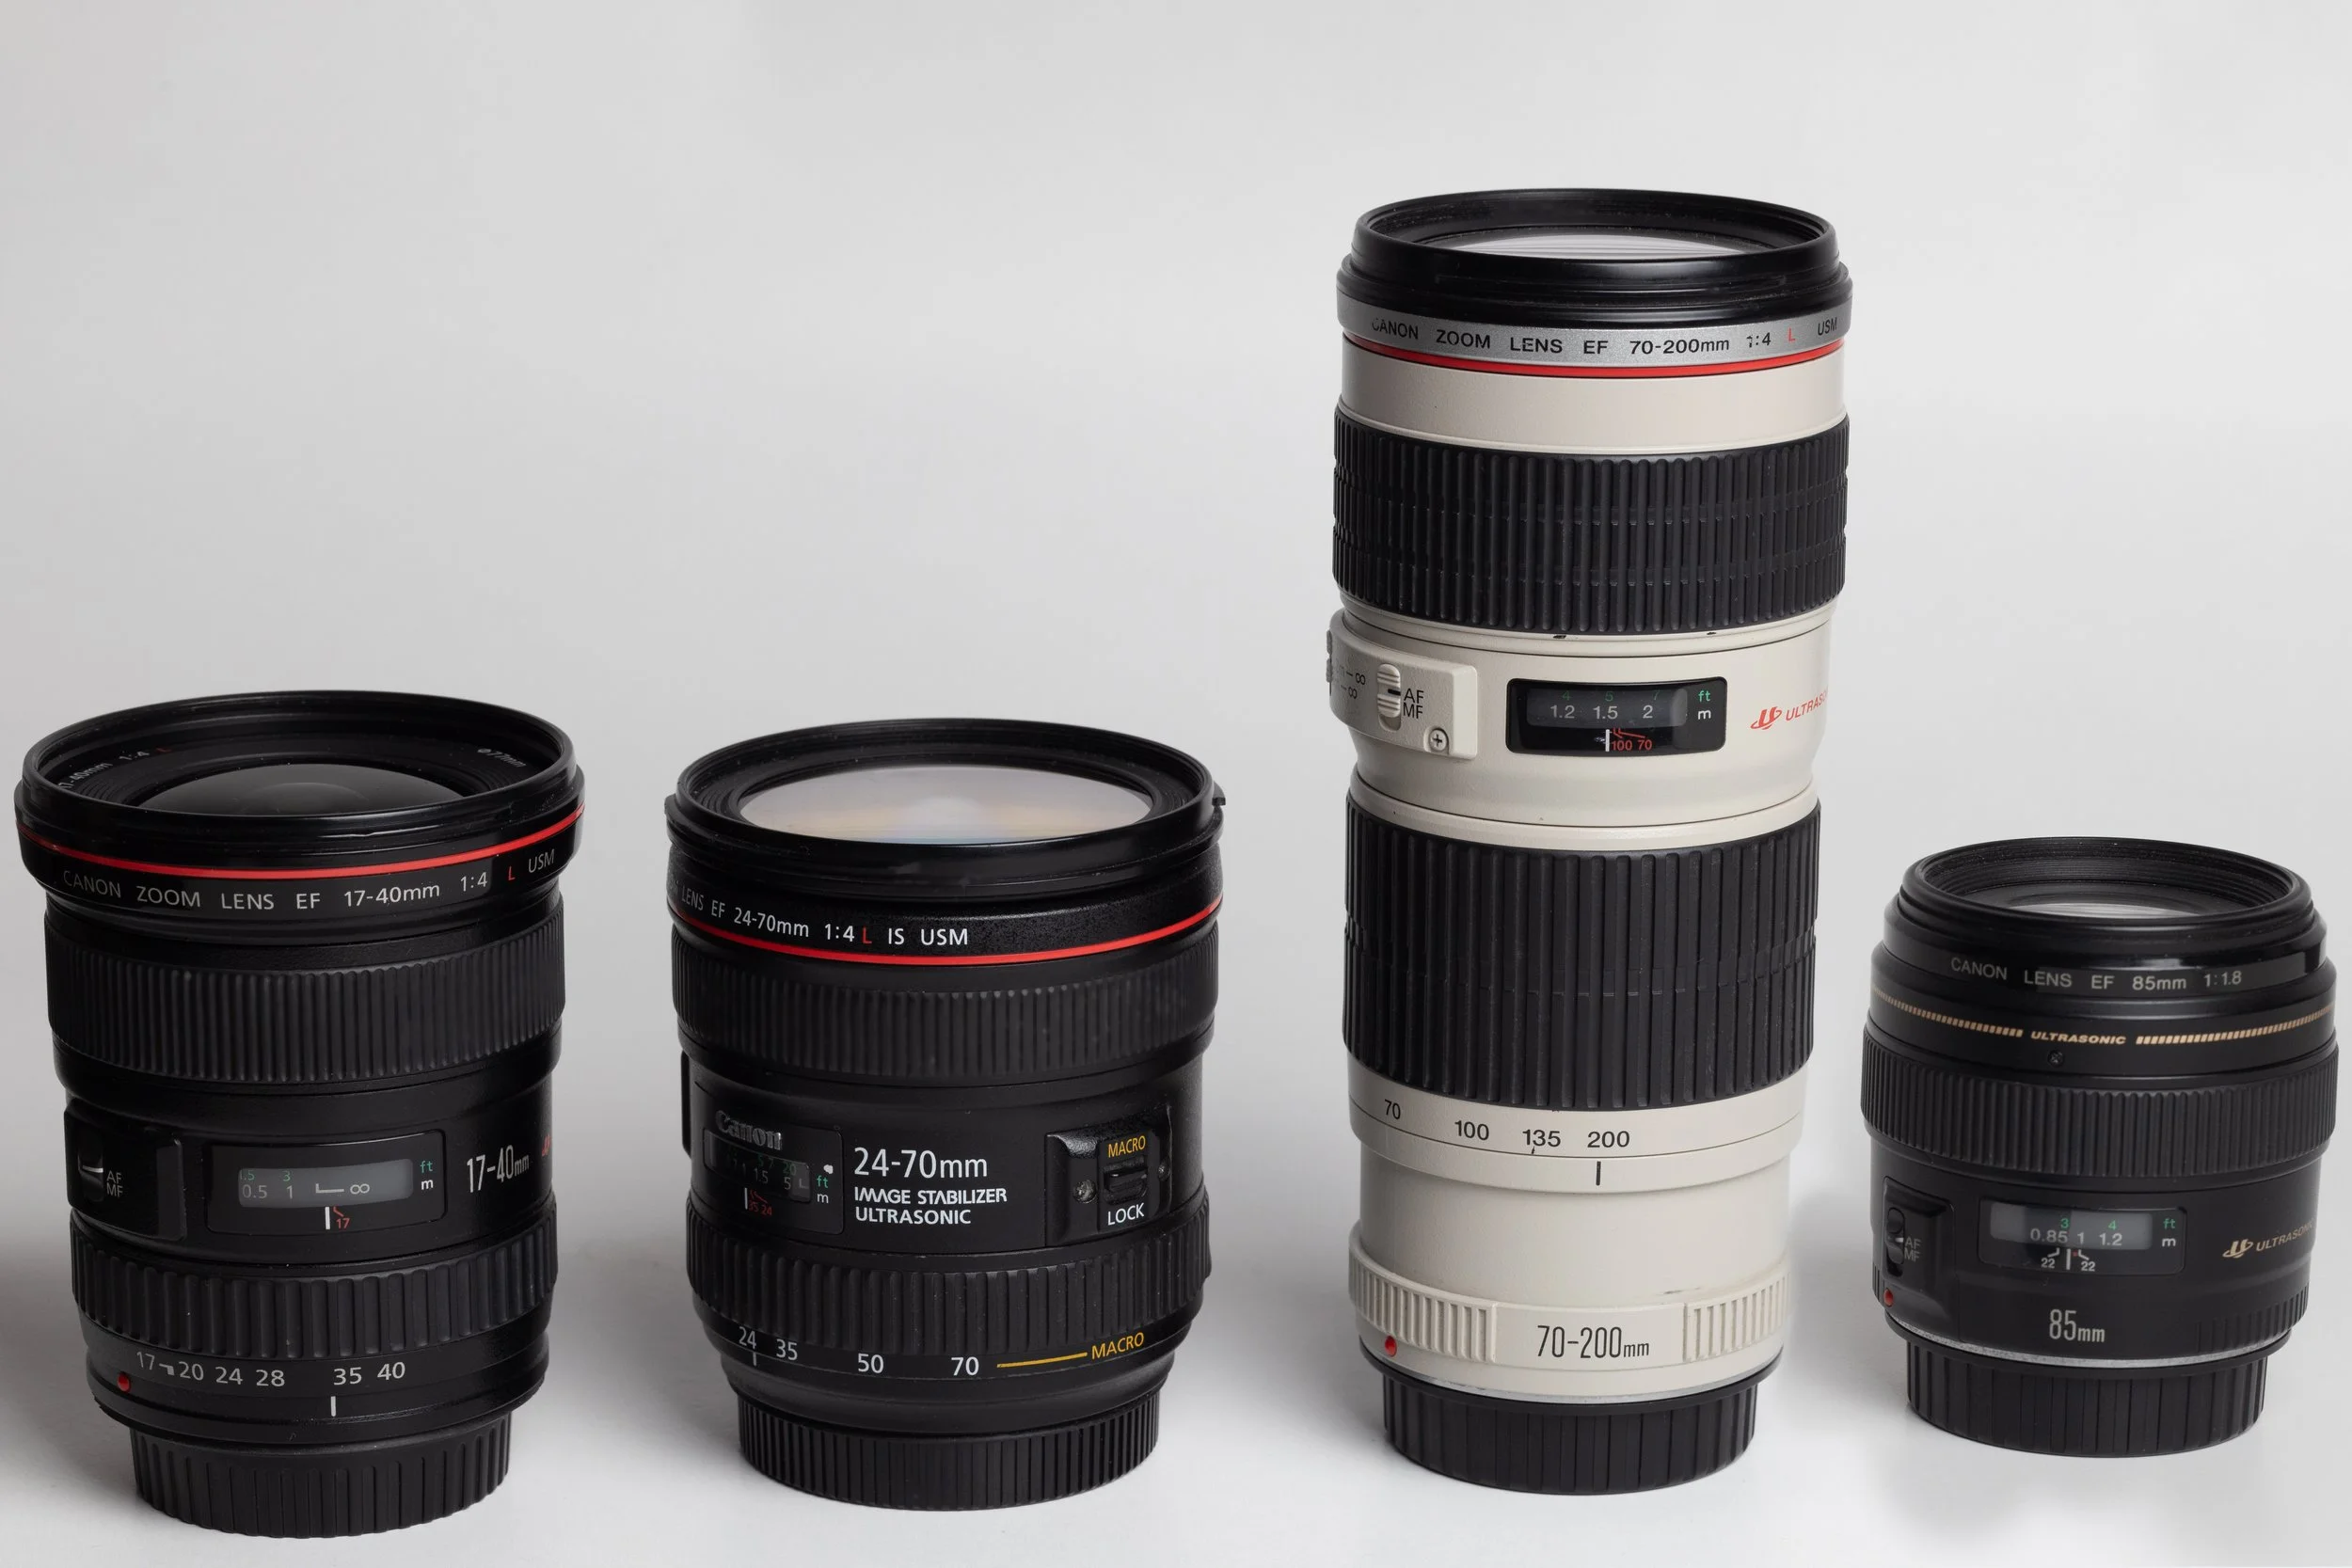
When it comes to lens selection, prime lenses (fixed focal length) often outperform zoom lenses. Prime lenses usually offer a lower maximum aperture (and therefore greater speed—they are "faster"), better sharpness, and less distortion. While not an absolute rule, prime lenses can help you achieve clearer and sharper images than their zoom counterparts.
It is also a good idea to use lenses equipped with Image Stabilization (IS). Depending on the lens model and how many thousands of euros you have spent, the result can be magical. You will be able to take photos with a free, almost shaky hand and the result will be usable.
Clean Lenses: The Basic Principle
Before each shot, make sure your lens is clean. A dirty lens can reduce the sharpness of your image. Use a soft microfiber cloth to remove any dust or fingerprints. Also, have your lenses checked and serviced whenever necessary.
Avoid filters in front of your lens (with the exception, of course, of some special-purpose filters, such as polarizers)! This may sound somewhat controversial, but it is a shame to pay hundreds or thousands of euros for expensive lens glass only to hide it behind a filter that is probably cheap. I consider UV filters, which are supposed to "protect" your lens, to be the most useless accessory a photographer can have. Your lens can withstand a lot of abuse, trust me. If you ever want to do so for some reason, keep in mind that breaking the front lens of a simple nifty-fifty will require a hammer, considerable force, and quite a few attempts.
Correct Viewfinder Adjustment
Correct viewfinder adjustment is critical for accurate focusing. Adjust it so that you can see the image clearly and focus correctly. Depending on any visual problems you may have, such as slight myopia, you can make minor adjustments for a clear field of view through the viewfinder.
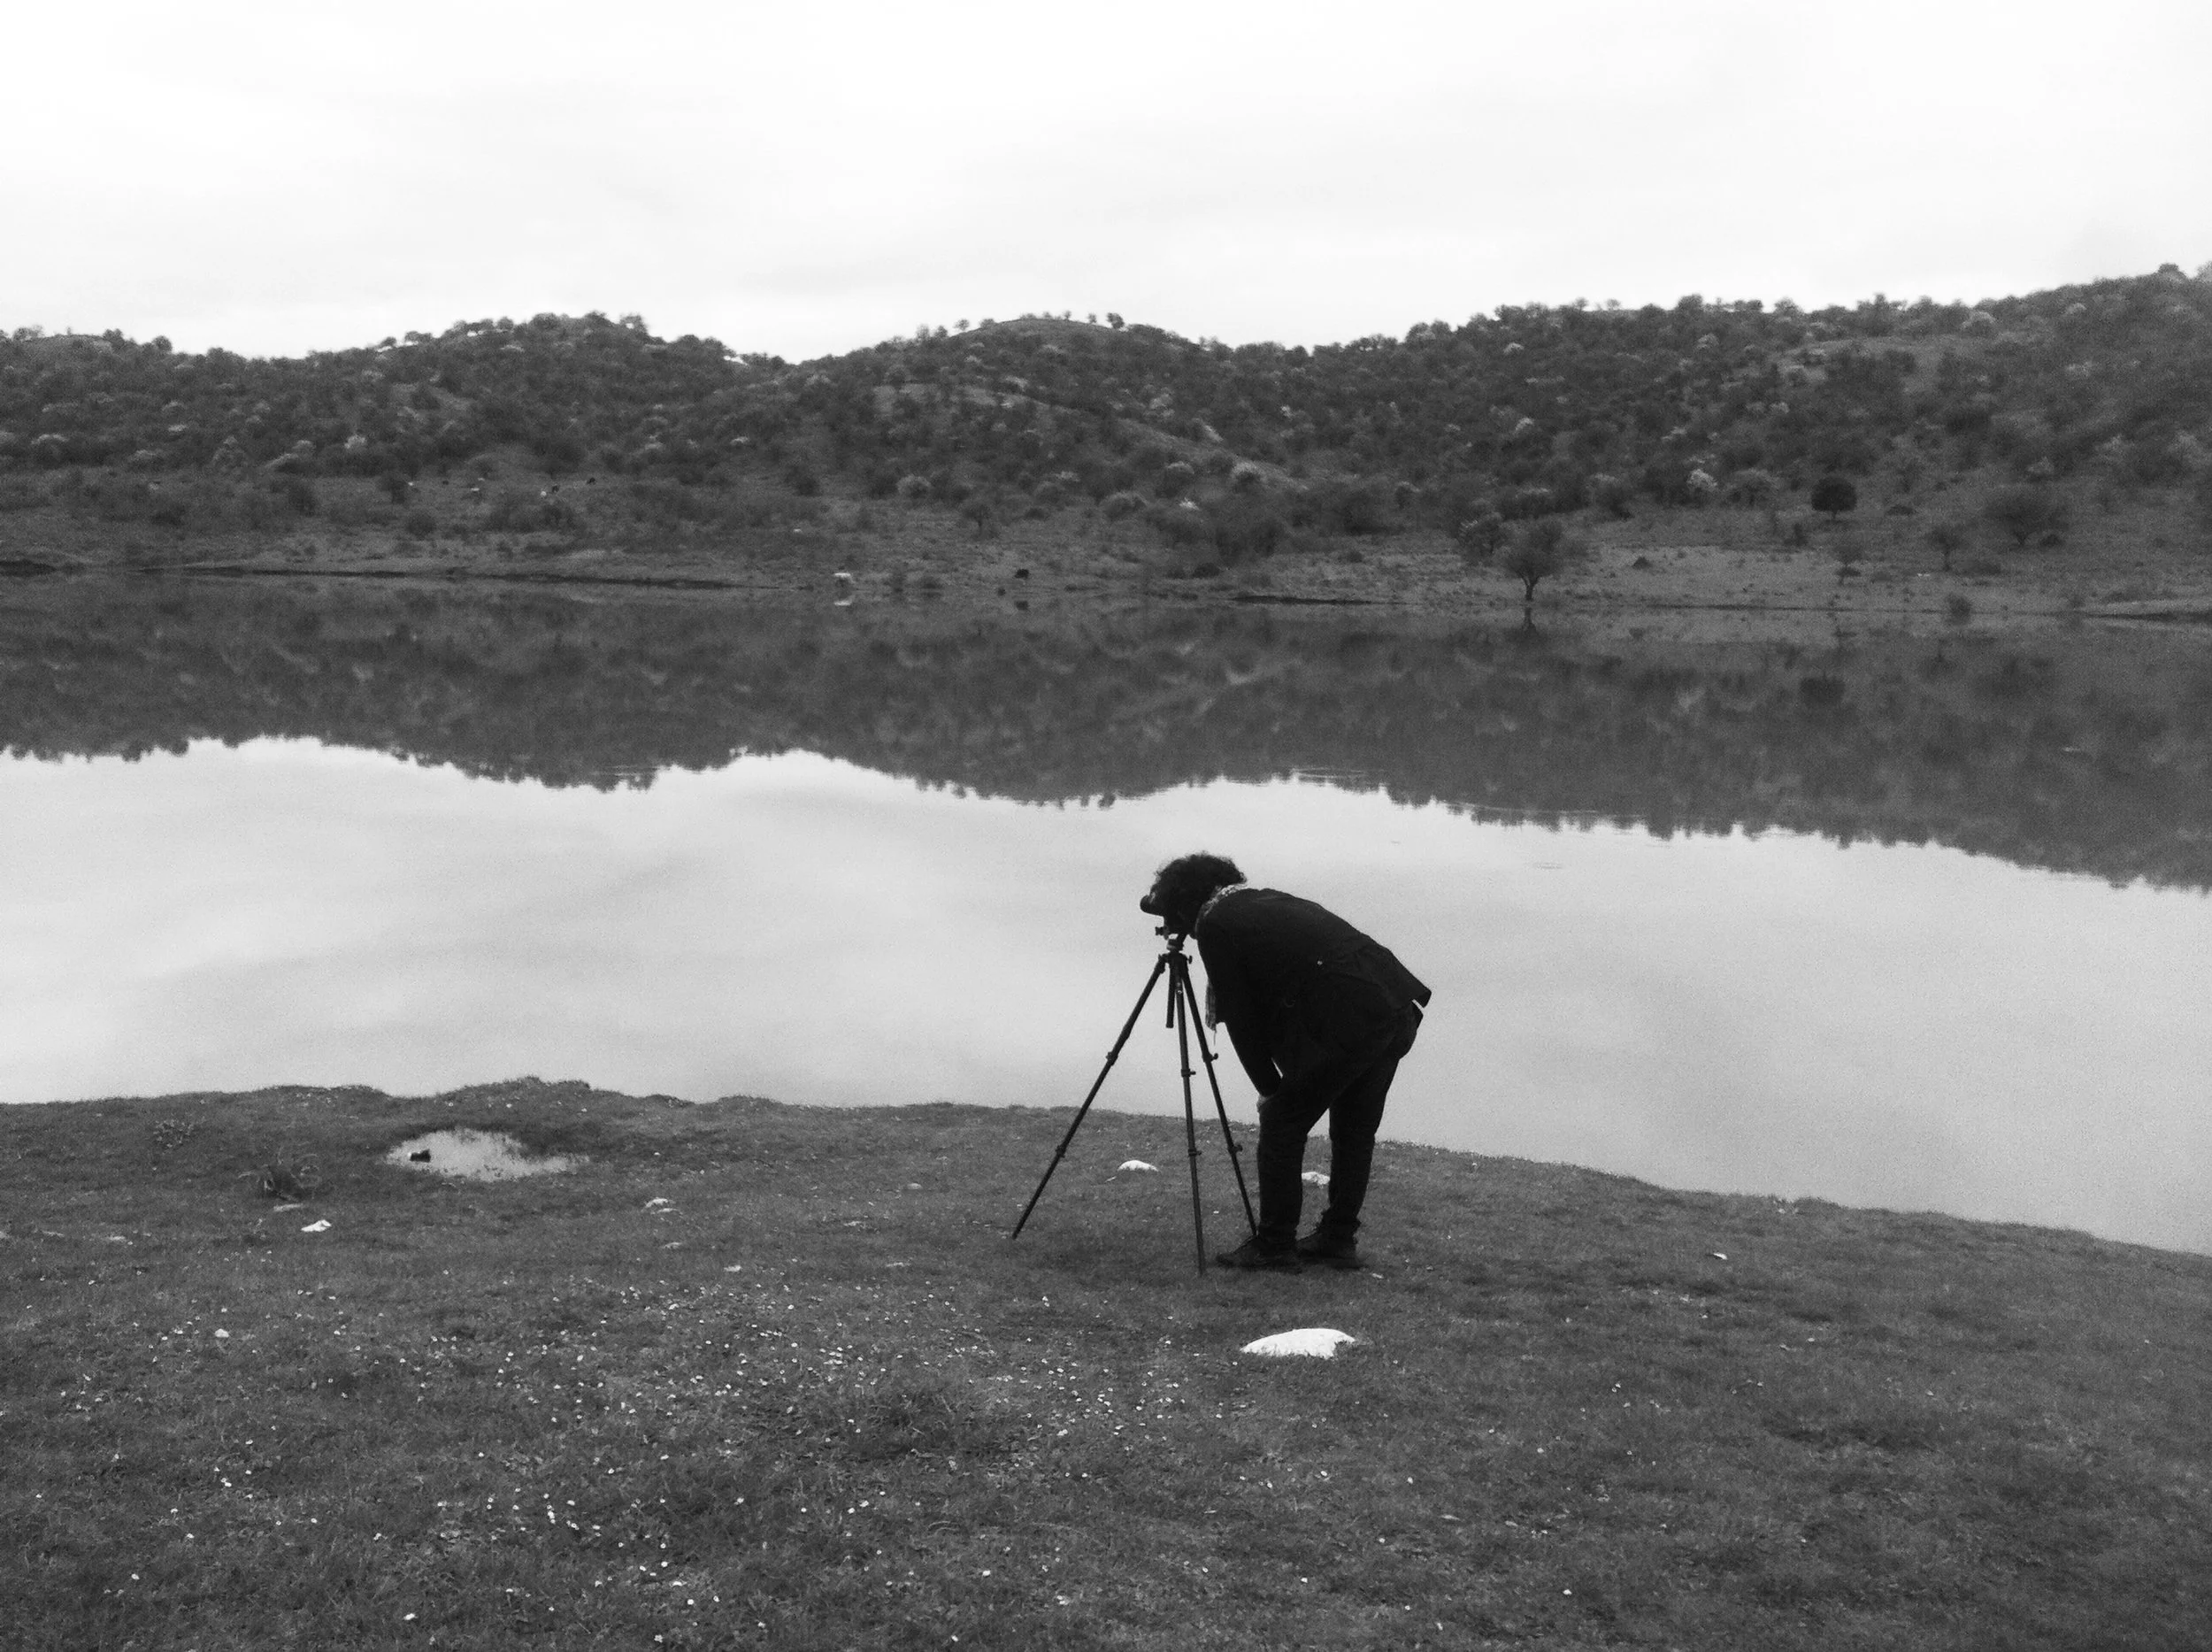
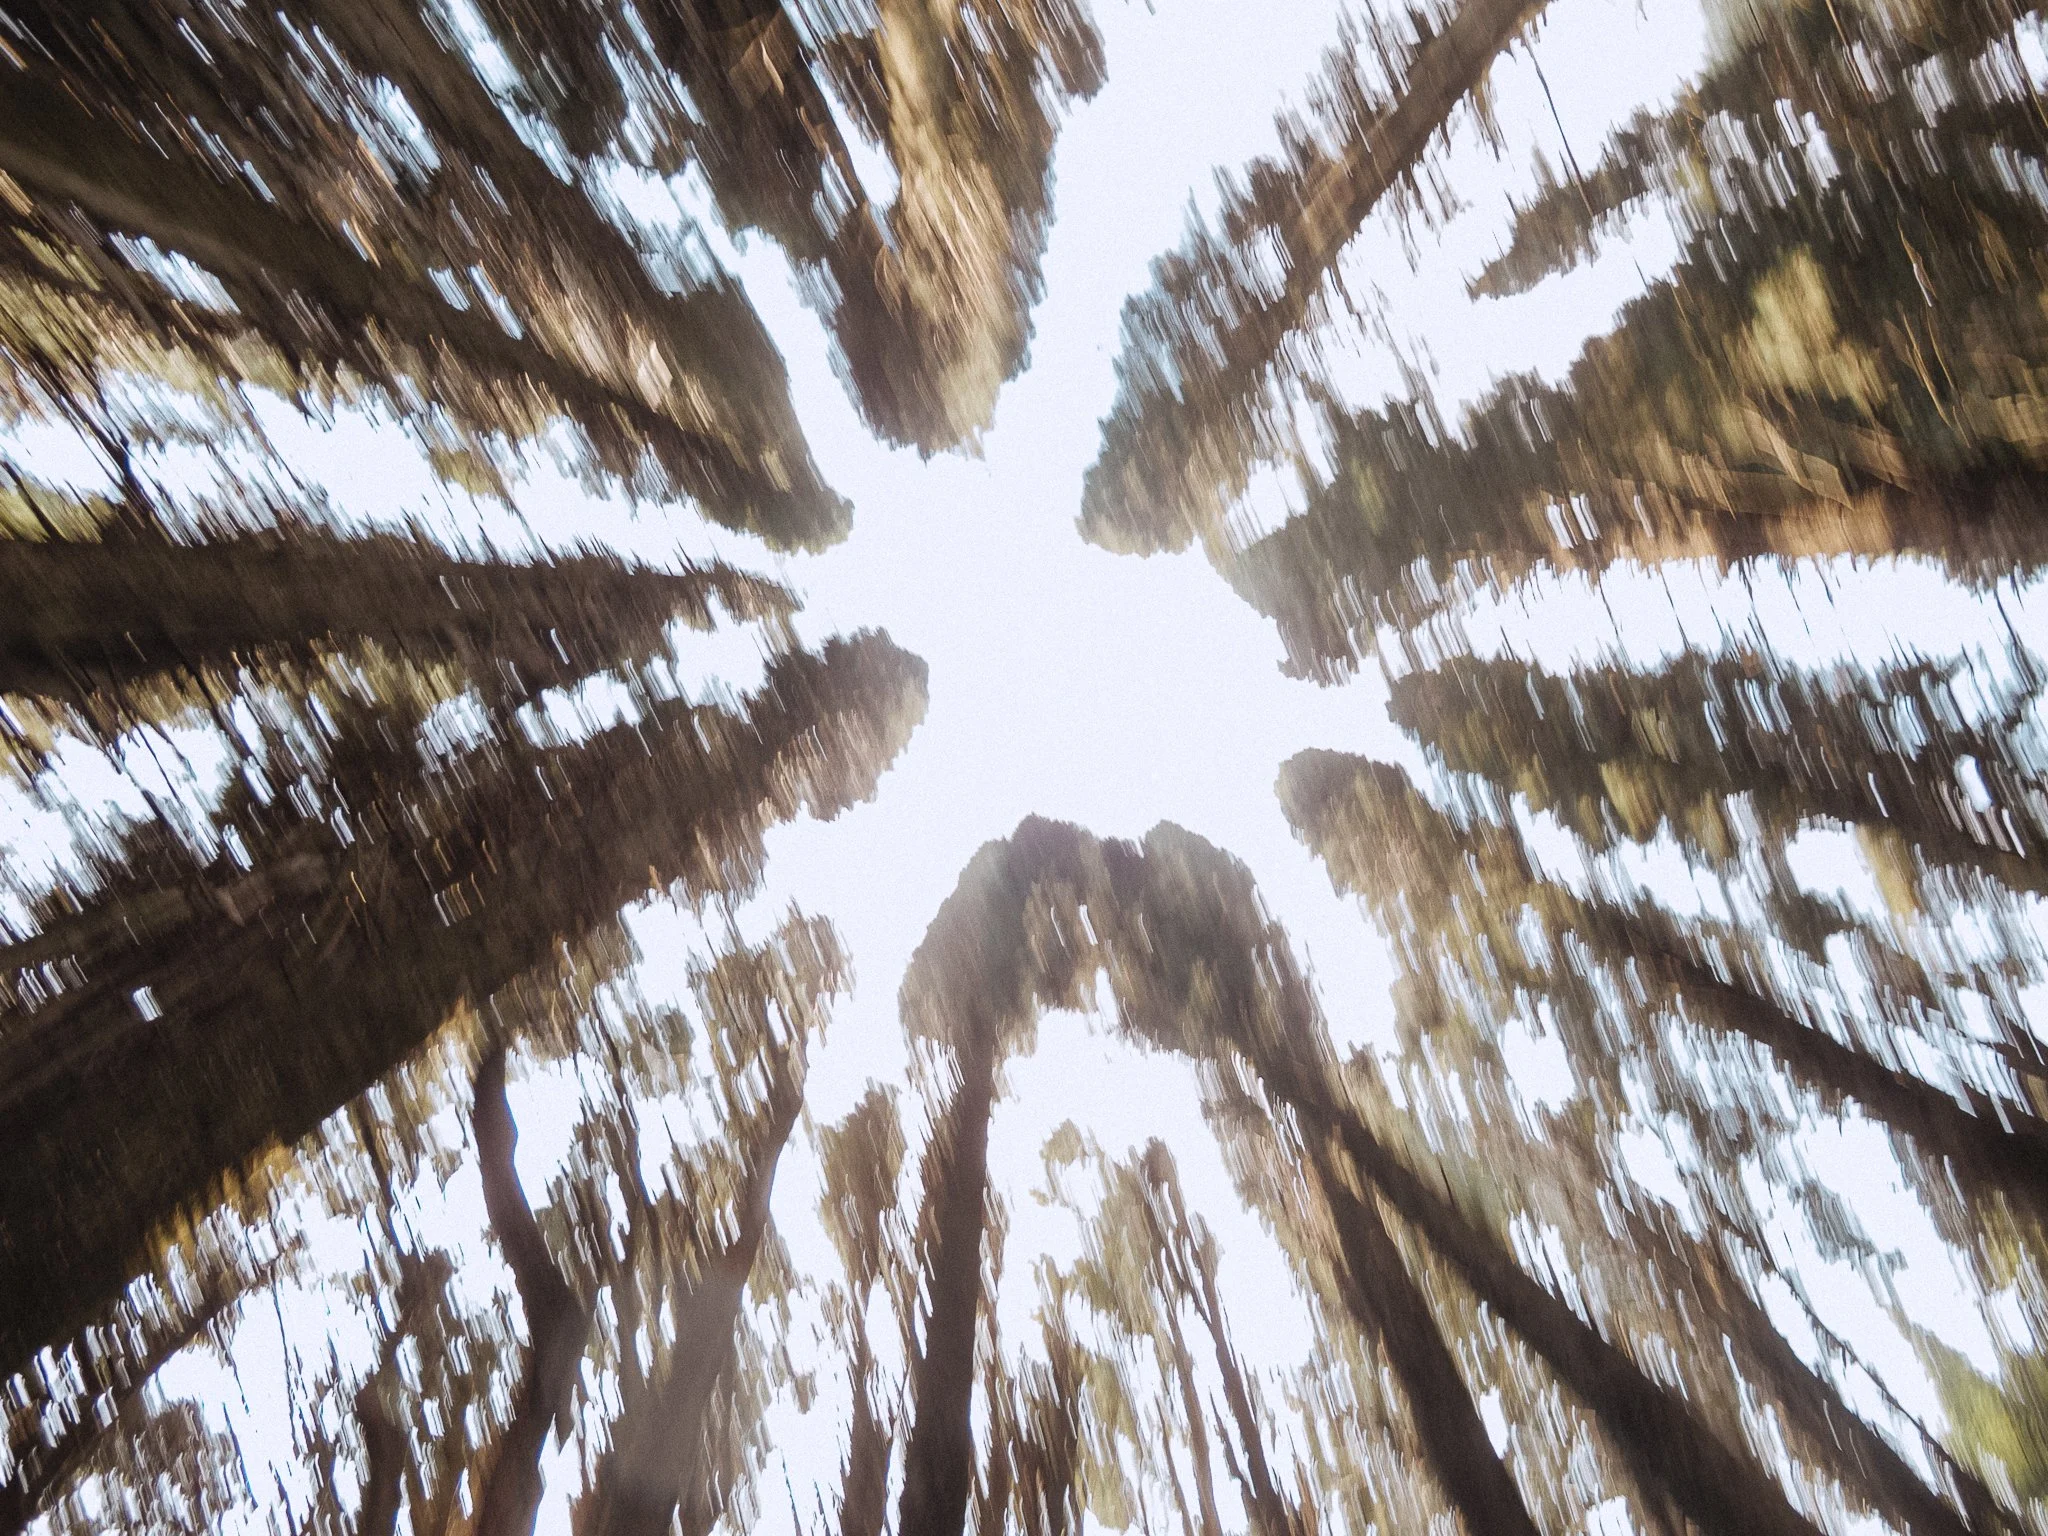
Stability: Use a Tripod and Maintain Proper Posture
Stability is key to sharpness.
For handheld photography, follow the Hand-Holding Rule: make sure the shutter speed is at least the reciprocal of the focal length of the lens. E.g., 1/100s or faster for a 100mm lens.
Also, learn the correct body posture:
Hold the camera with both hands. Your right hand on the grip and your left hand below the lens (unless you are left-handed—how do left-handed people hold the camera?).
Make sure your elbows are close to your body.
Press the eyepiece against your eye.
Keep your feet slightly apart, at the same level as your shoulders.
If possible, lean against a stable object or a wall.
The aim is to create an artificial "tripod" with your body.
Use a sturdy tripod to prevent camera shake whenever possible, especially if you have a heavy lens attached to your camera body. This may seem excessive, but try this simple experiment: photograph a stationary subject with a telephoto lens at a fast shutter speed (using the Hand-Holding Rule) and immediately afterwards, take the same picture with the camera on a tripod. Chances are you will see differences in sharpness, especially if you zoom in on your computer screen.
When shooting with a tripod, it is a good idea to activate the 2" or 10" timer that cameras usually have. This will help you avoid the slight vibrations caused by pressing the shutter button.
These techniques will help you reduce camera shake.
Please note that when you put a lens with IS on a tripod, it is a good idea to turn it off. IS constantly searches for movement in the frame, and since there is no movement on a tripod, it is likely to cause blurring in the image.
Weather and shooting location
Even the weather can play a role in the clarity of a photo taken outdoors. The ideal weather is considered to be immediately after rain. It clears the atmosphere of microparticles, which are invisible to the naked eye but affect the sharpness of a landscape image.
The same applies to the altitude from which a photo is taken, proportionally, as well as the season of the year.

Camera sensor
Your camera sensor also plays an important role. A medium format camera (53mm x 40.20mm) provides different sharpness than a full frame camera (35mm x 24mm) or a camera built into a mobile phone (12.8mm x 9.60mm at most).
Aperture
Probably the most important factor is the aperture you choose when taking your photo. Knowing the depth of field here proves to be crucial. Let me explain:
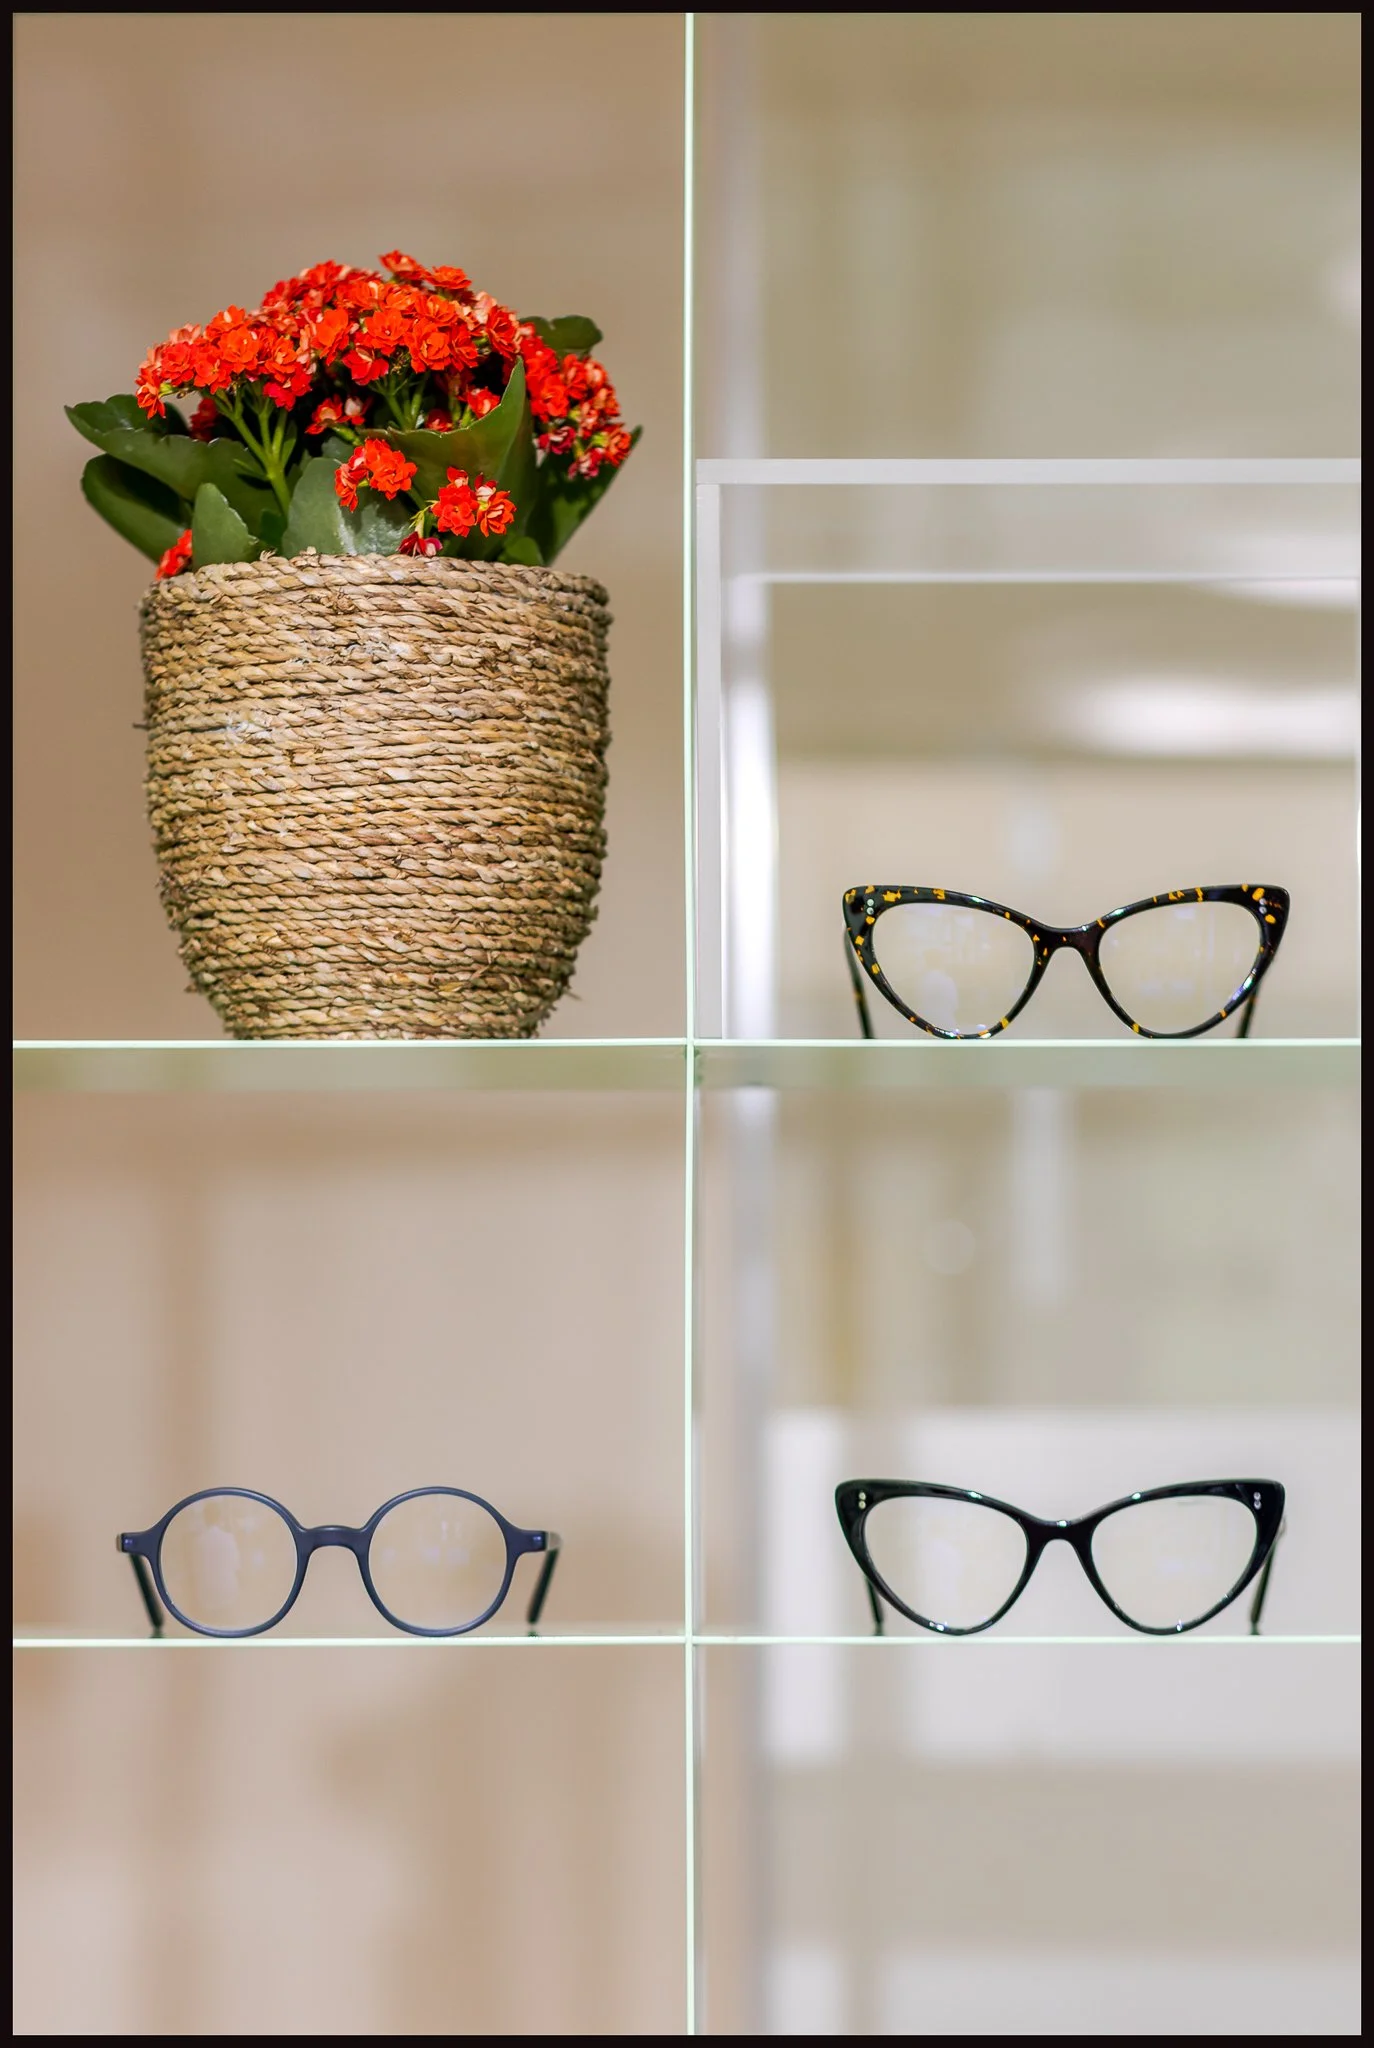
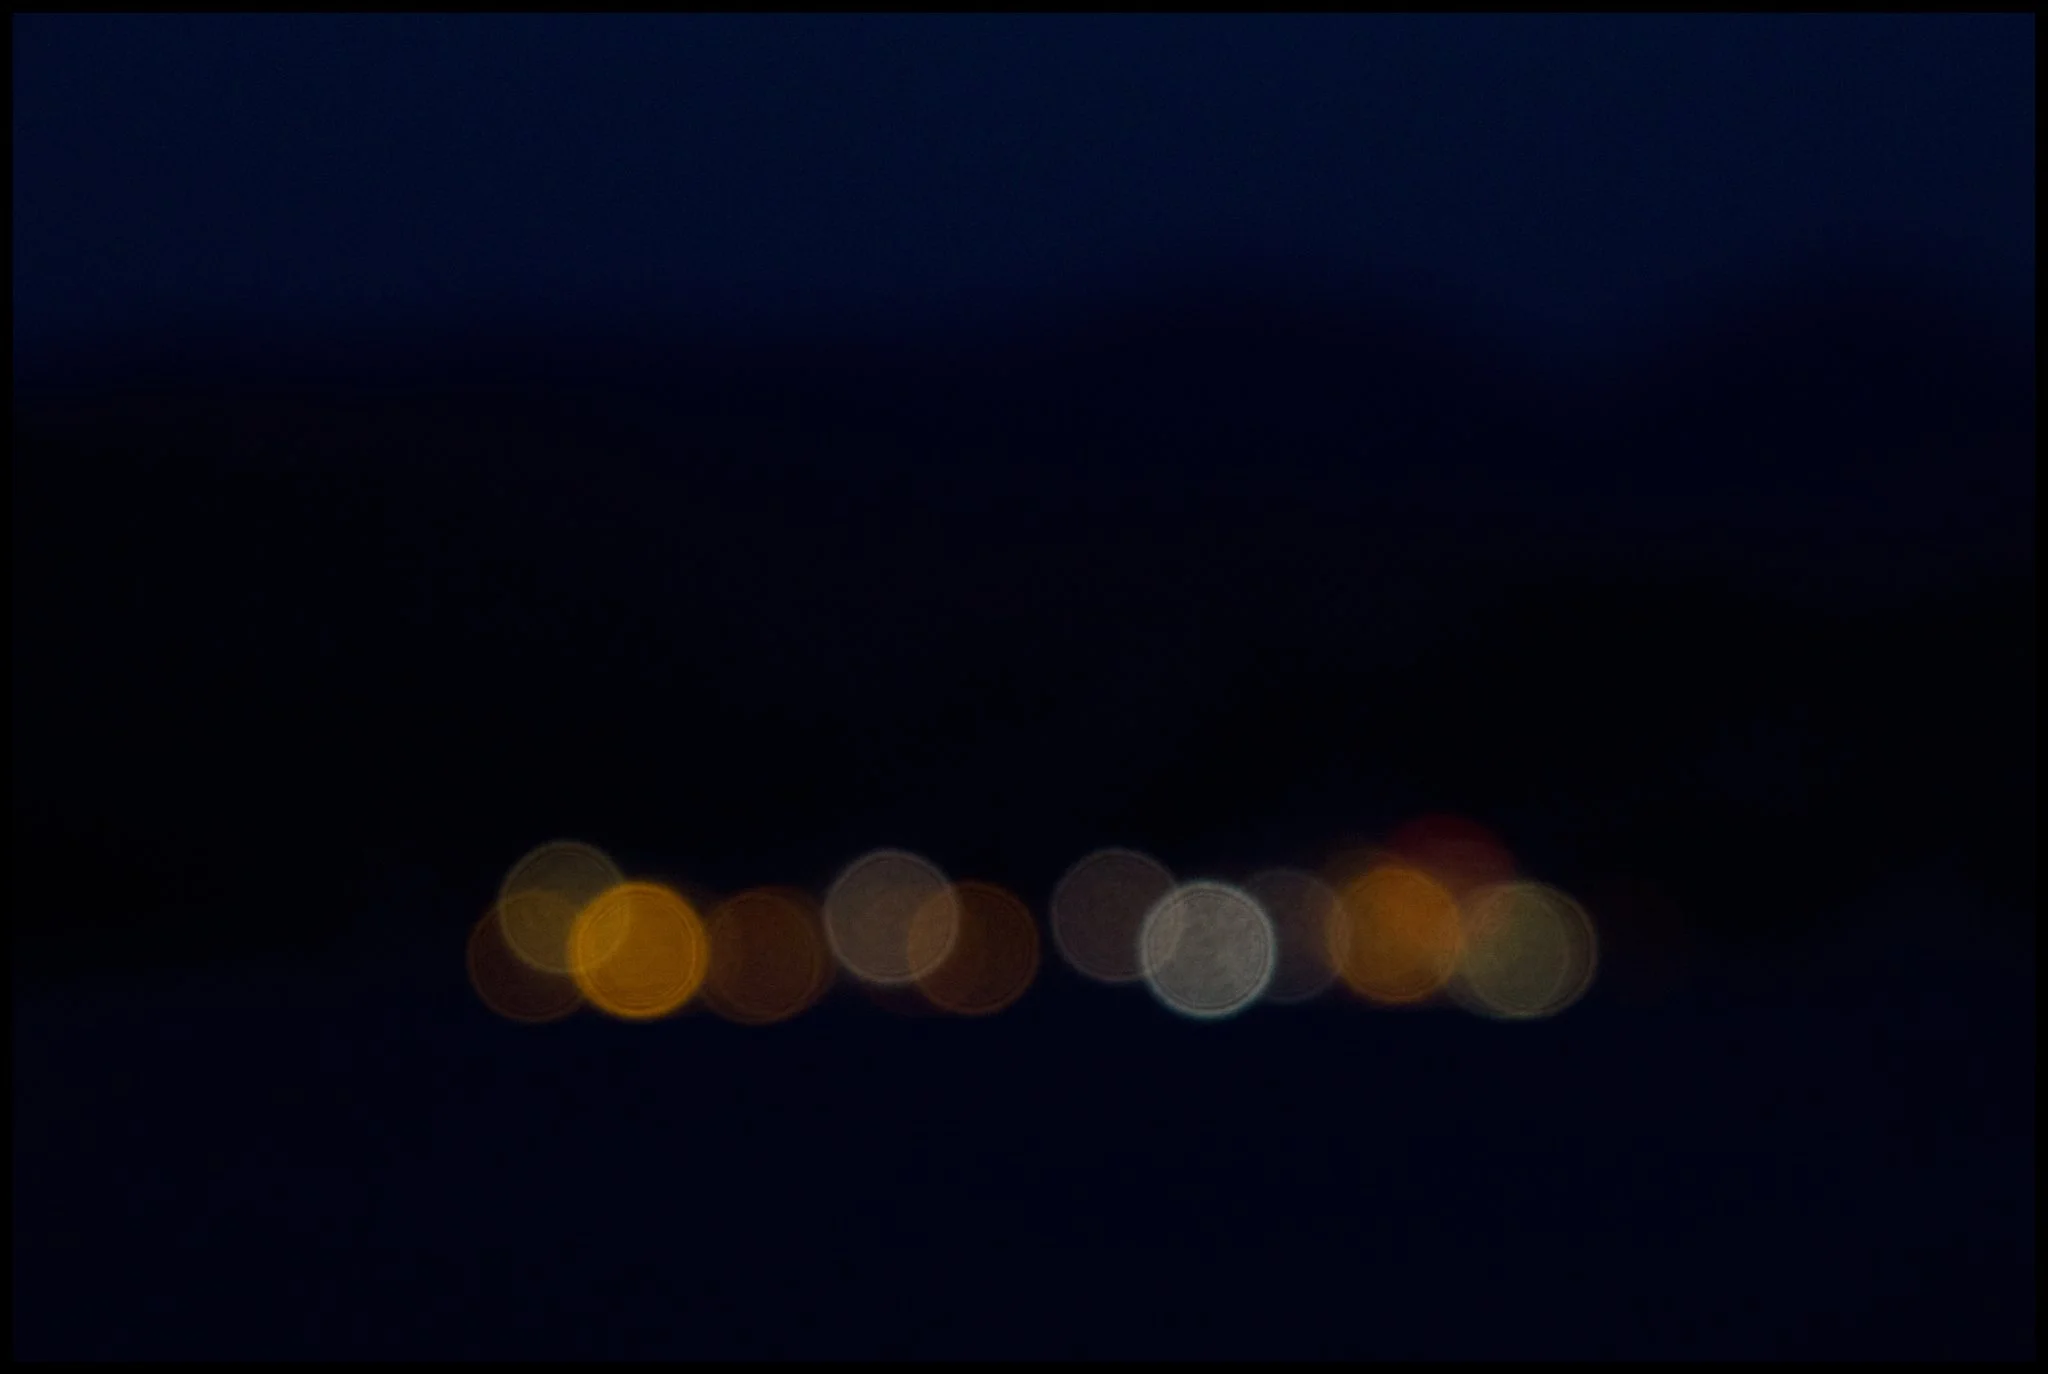
A small ("fast") aperture number helps isolate your subject, such as in a portrait, giving the impression of "pop" and absolute sharpness through contrast. The term bokeh, which you may have heard of, refers to this creamy background; the more dreamlike it is, the more intense the effect.
A large ("slow") aperture number helps achieve sharpness from the foreground to the farthest depth of a landscape image, for example.
Be careful with extreme values, as a very bright aperture (e.g., 1.2) can cause our image to suffer at the edges of the frame, while, conversely, with a very dark aperture (e.g., 32), sharpness is likely to be lost due to diffraction.
Most lenses have a sweet spot of performance, which is usually f/8.


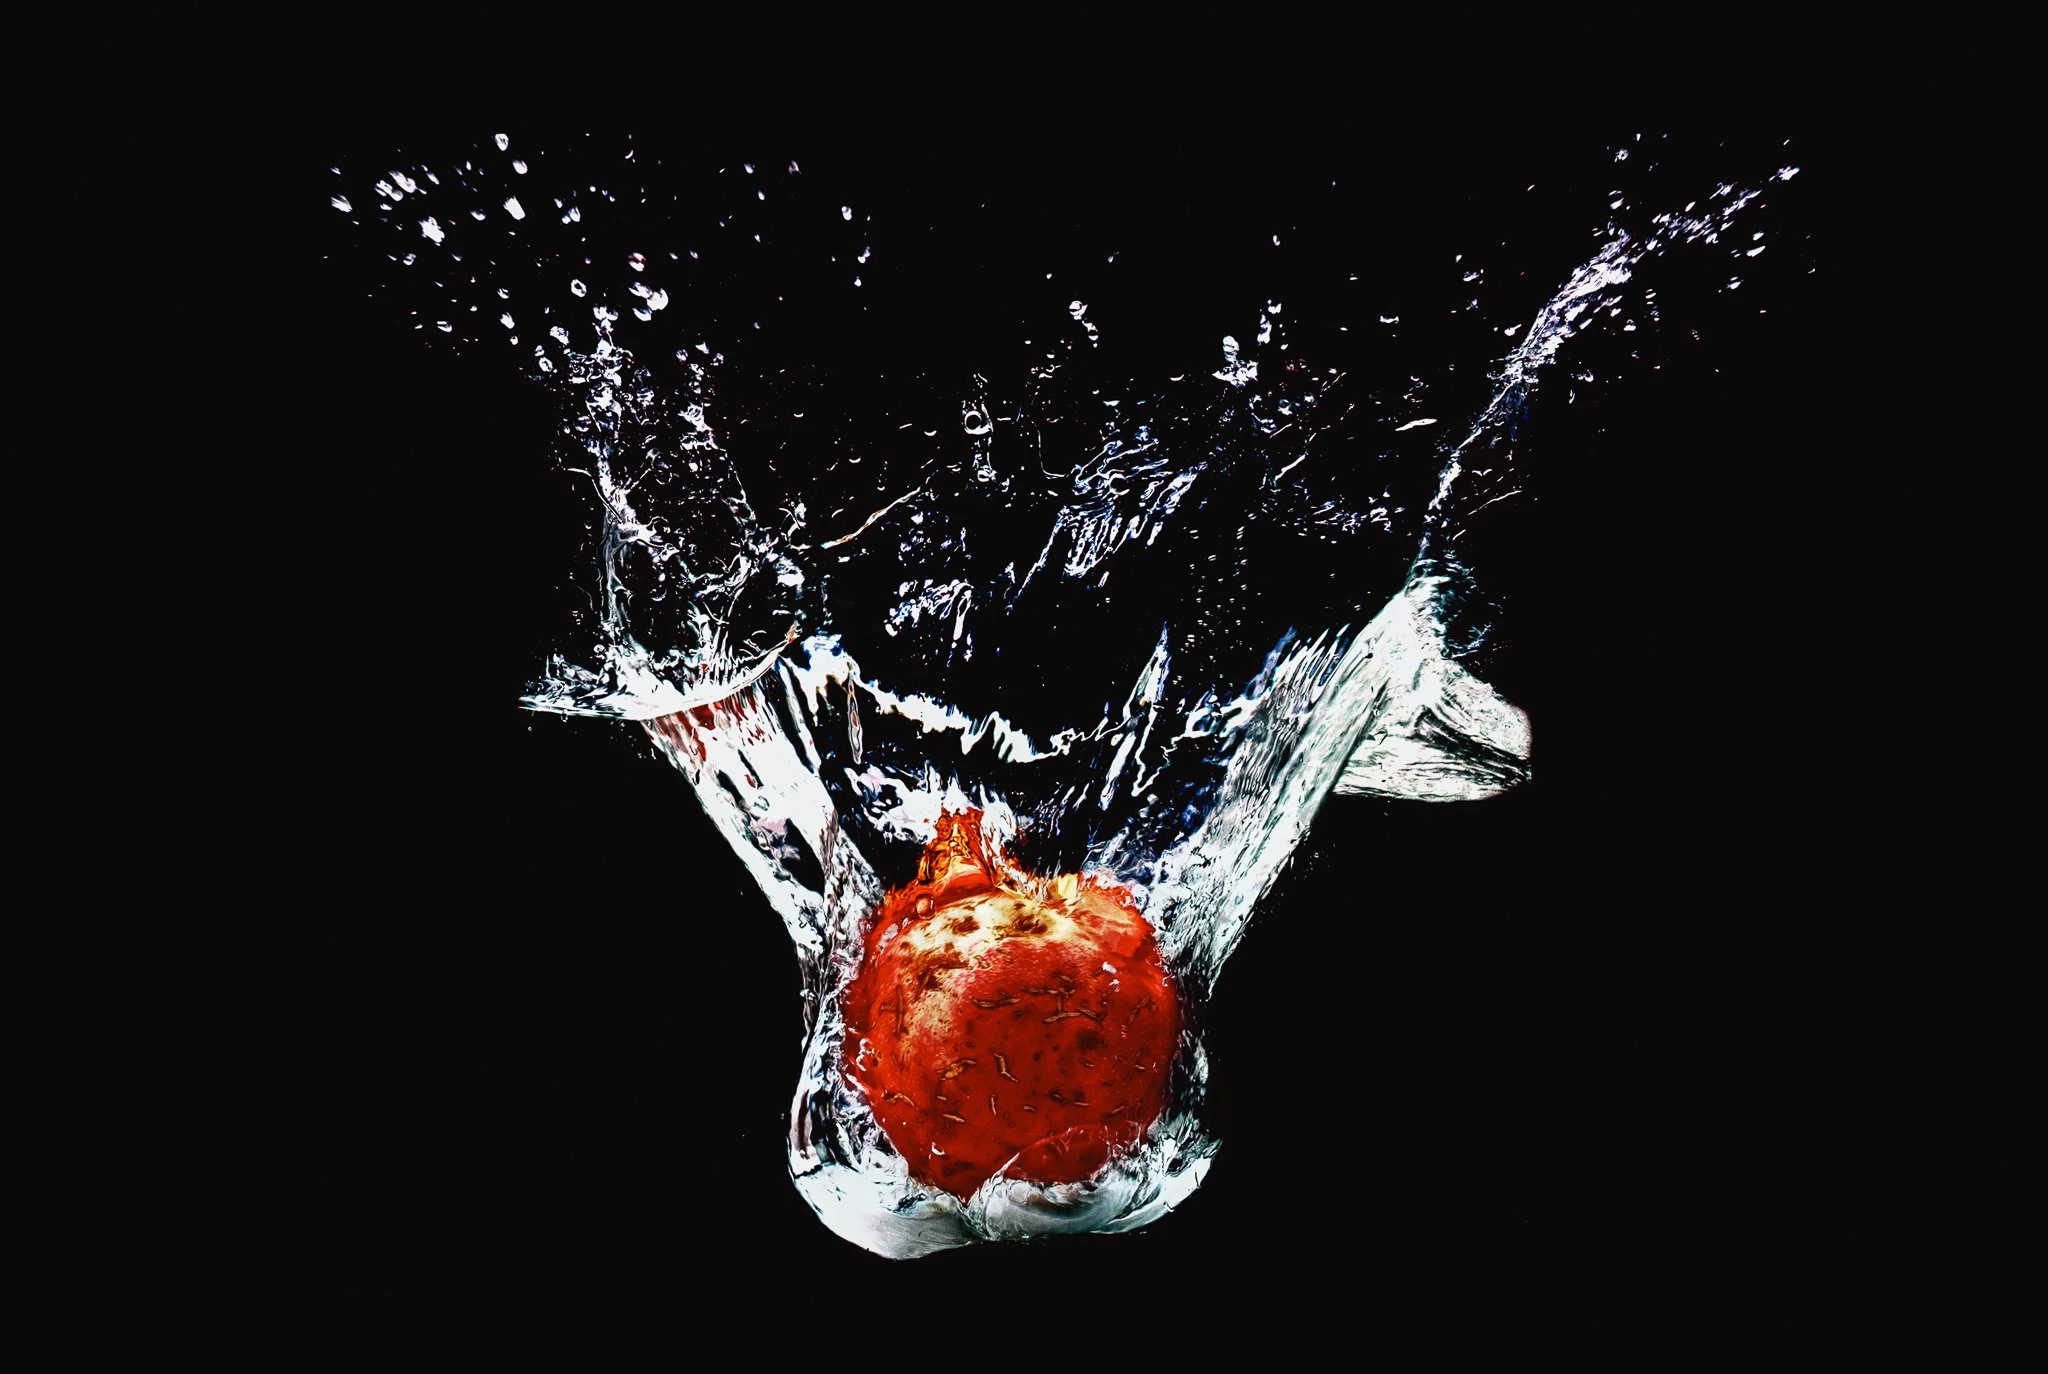
Shutter speed
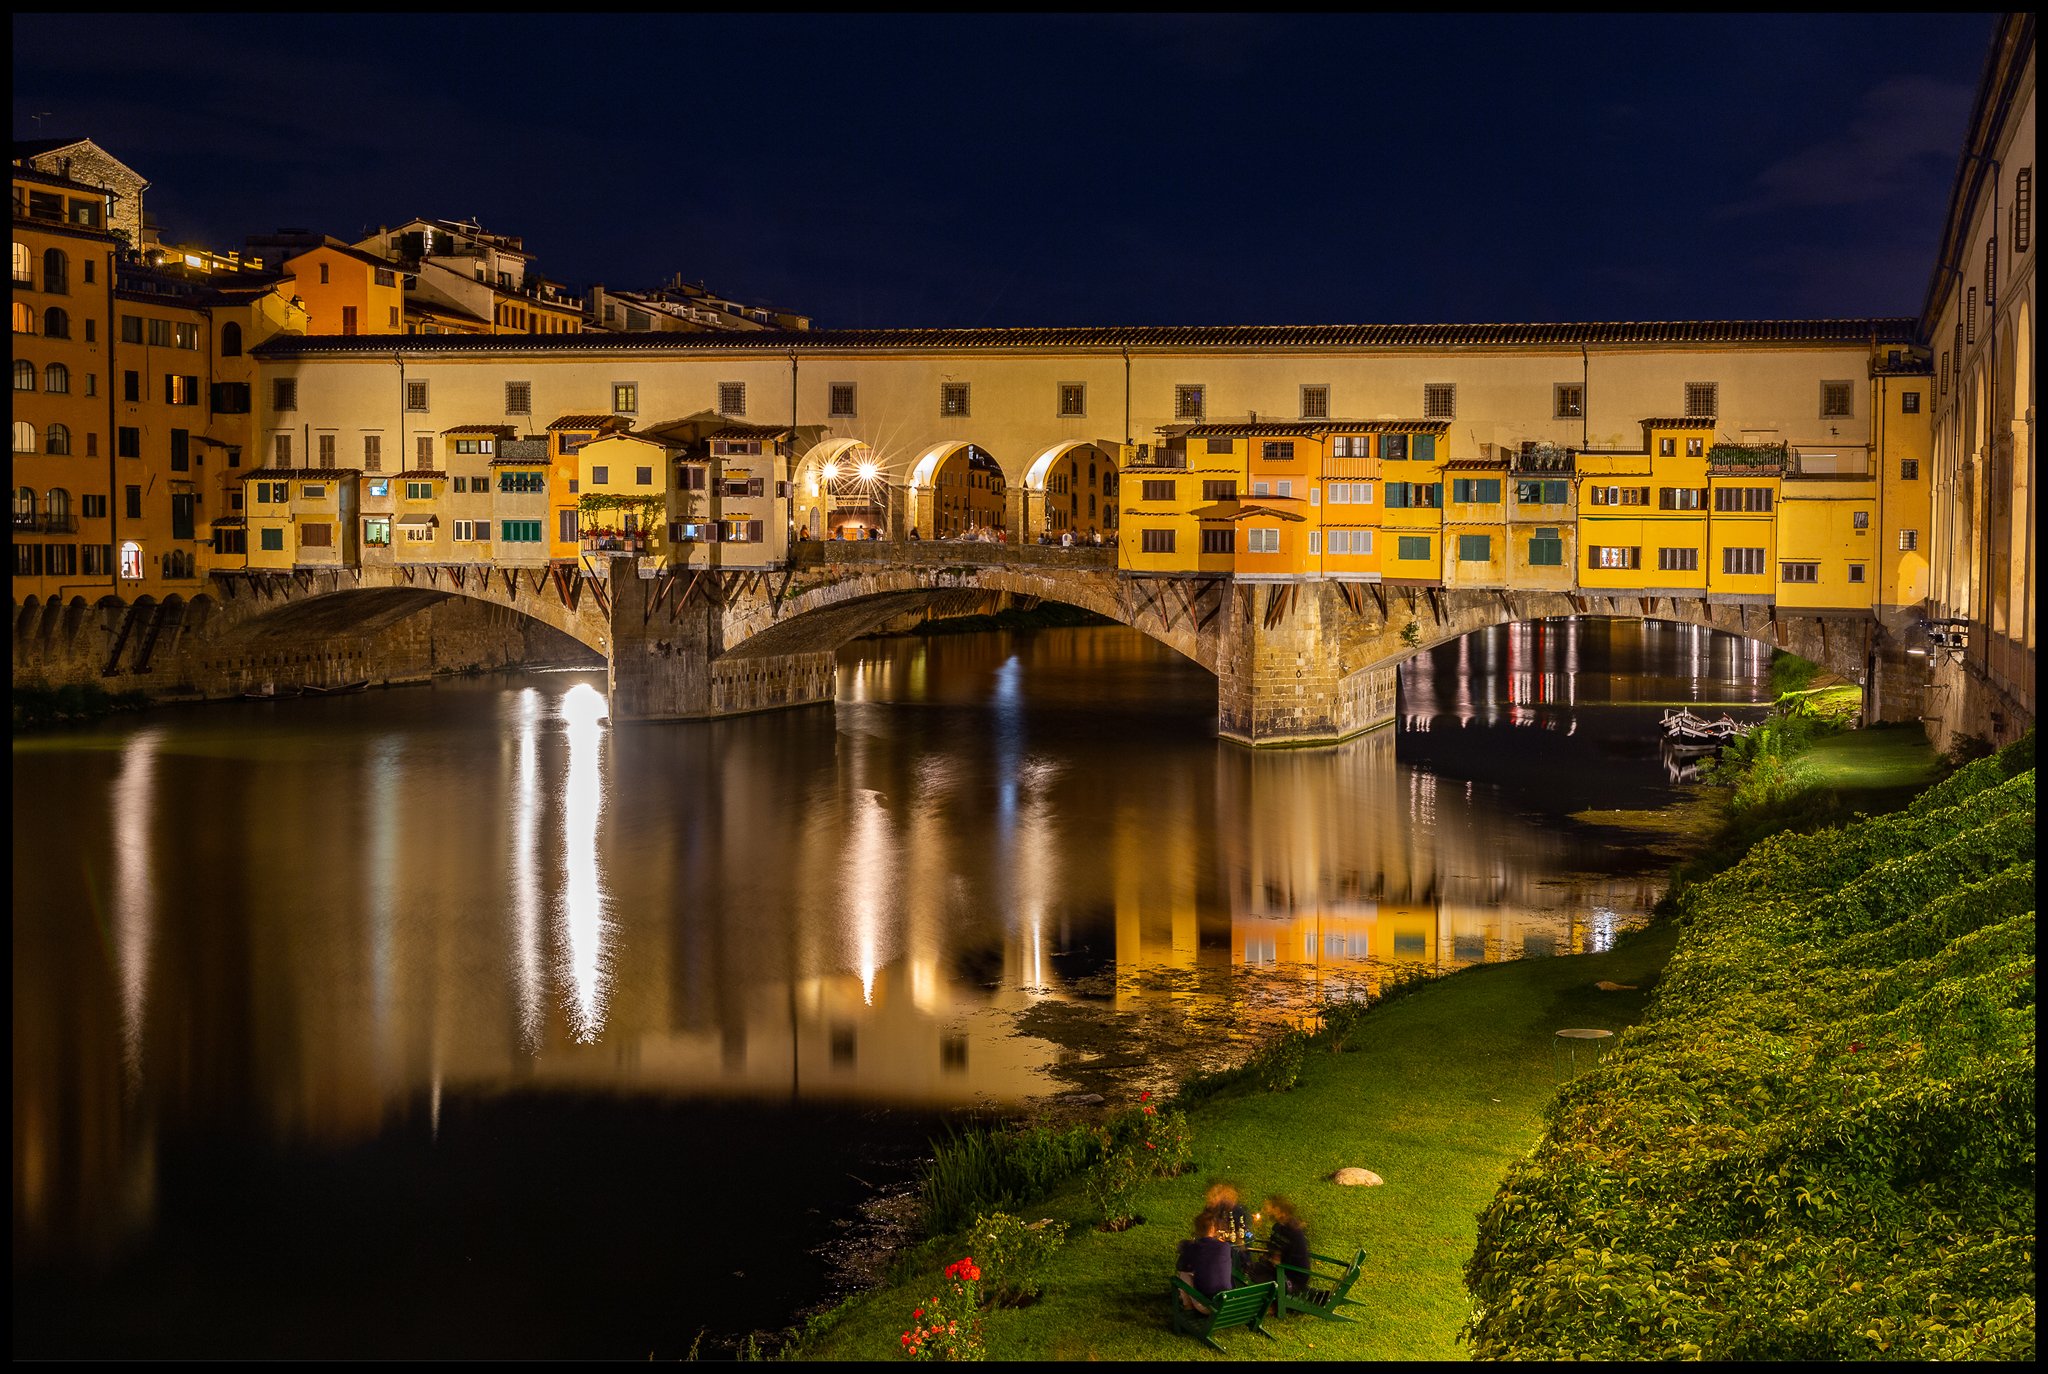
Shutter speed is also important when taking a photo. If the subject is moving, such as an airplane, a fast shutter speed will freeze the motion, resulting in a clear image. If, on the other hand, the subject is stationary, such as a mountain landscape, a slow speed can blur the movement of the clouds, giving clarity to the mountains and a dreamlike sky.
For handheld photography, remember the Hand-Holding Rule.

ISO
Use the lowest possible ISO to reduce noise, or "grain," in the image. Of course, if conditions require it, you will use a higher ISO. An image taken with clarity in the dark, even with noise, is better than one that was never captured. However, this does not mean that an image at 25600 ISO can be clearer than one at 100 ISO.
Lighting
Proper lighting always helps in photography, and the same applies to sharpness. A poorly lit photo cannot be as sharp as a properly lit one. In a less obvious way, the flash can help by freezing any movement that occurs in front of the camera lens, but also by creating a stronger contrast. This is true even during the day, under certain conditions.

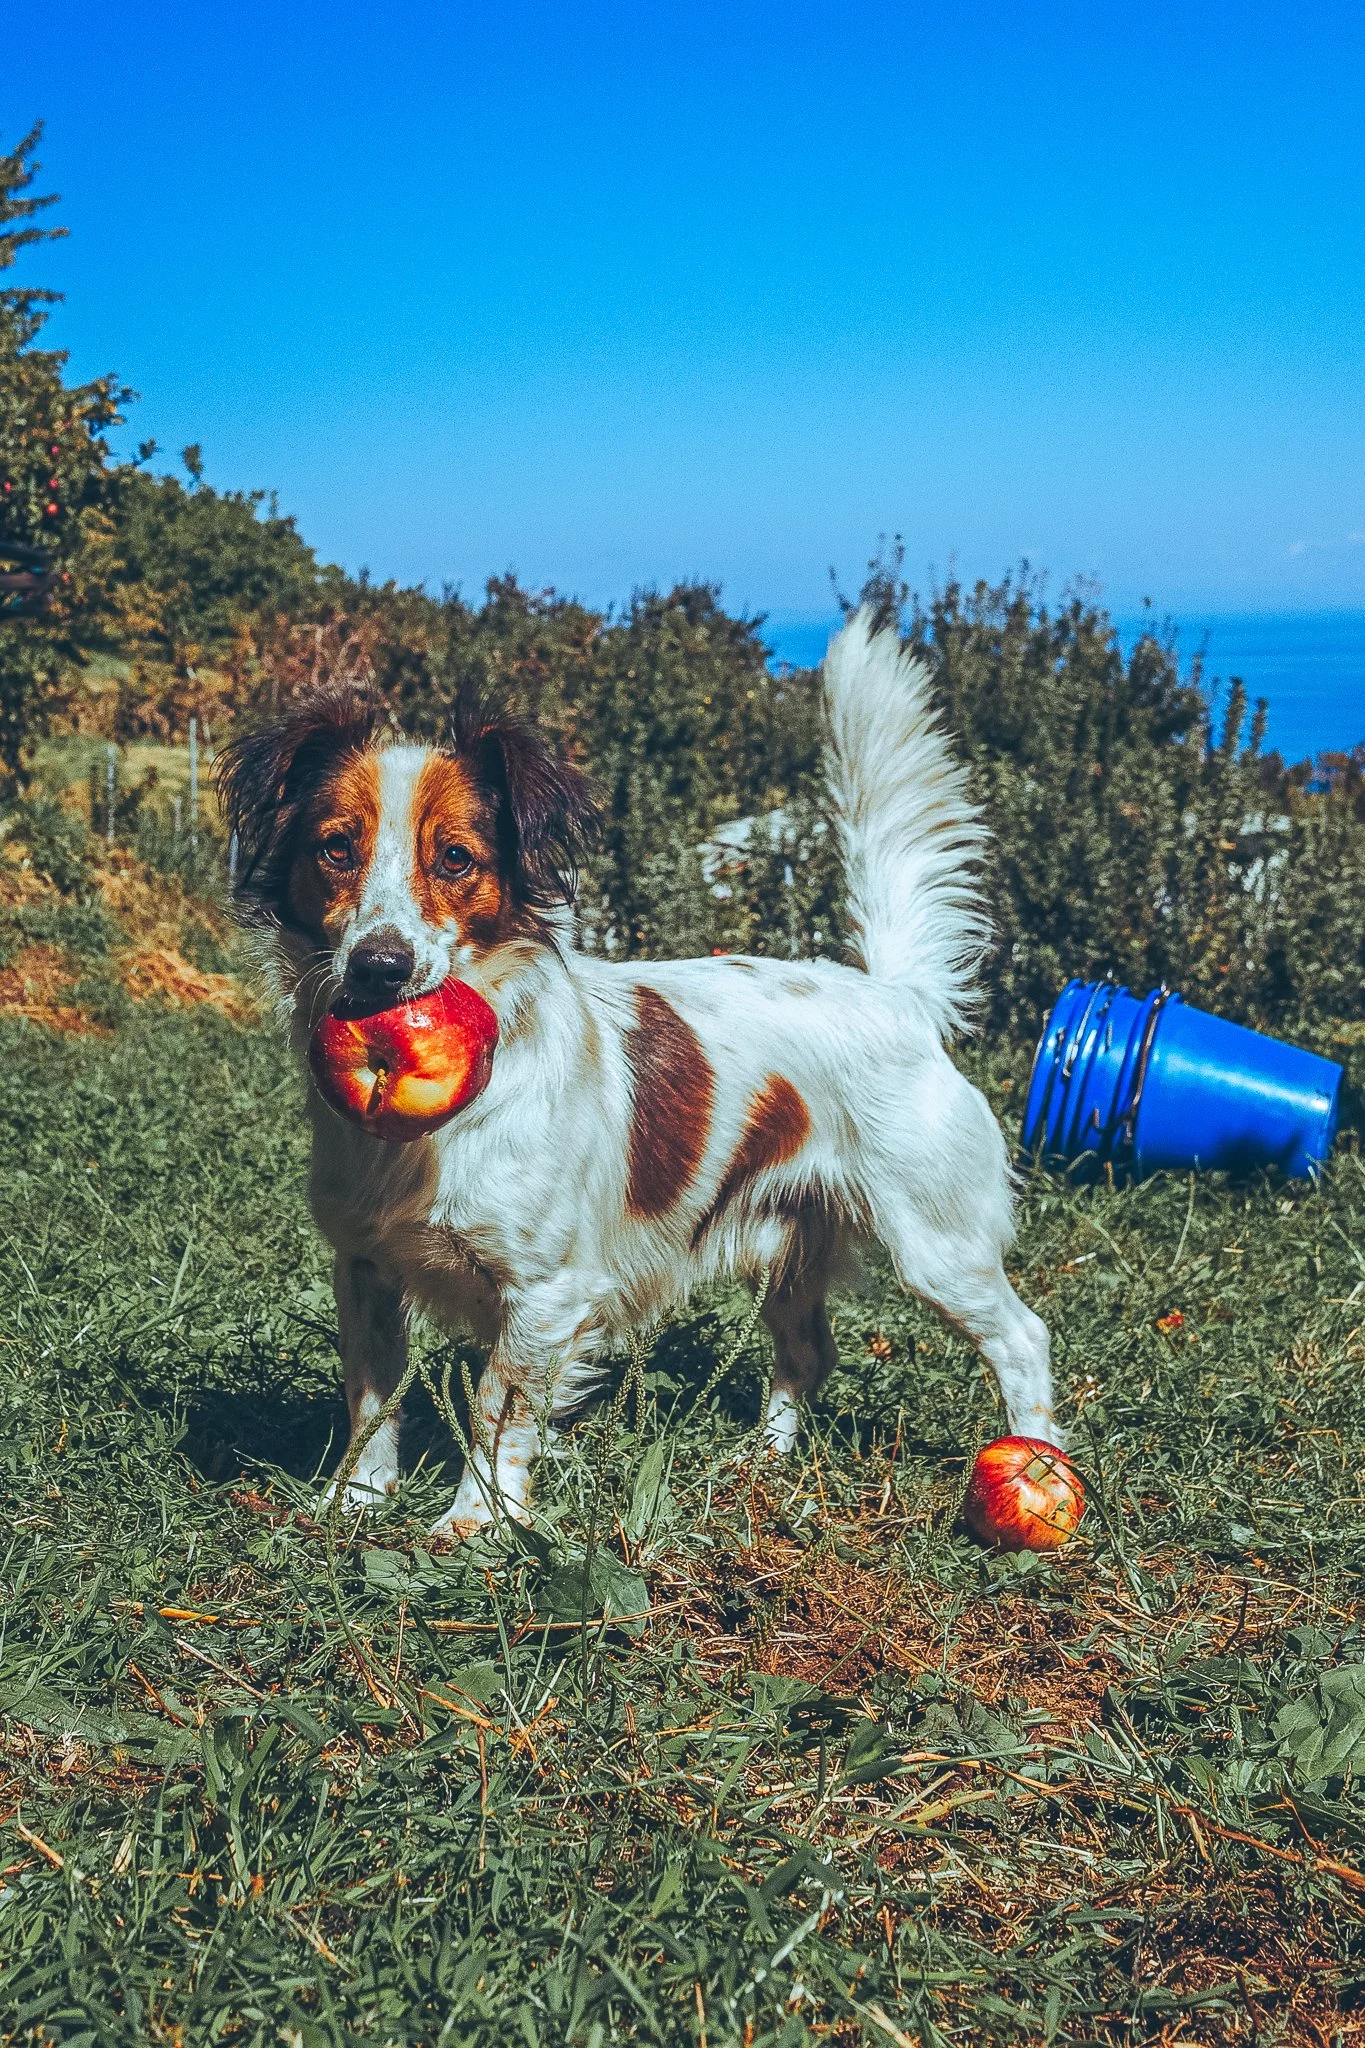
Focus
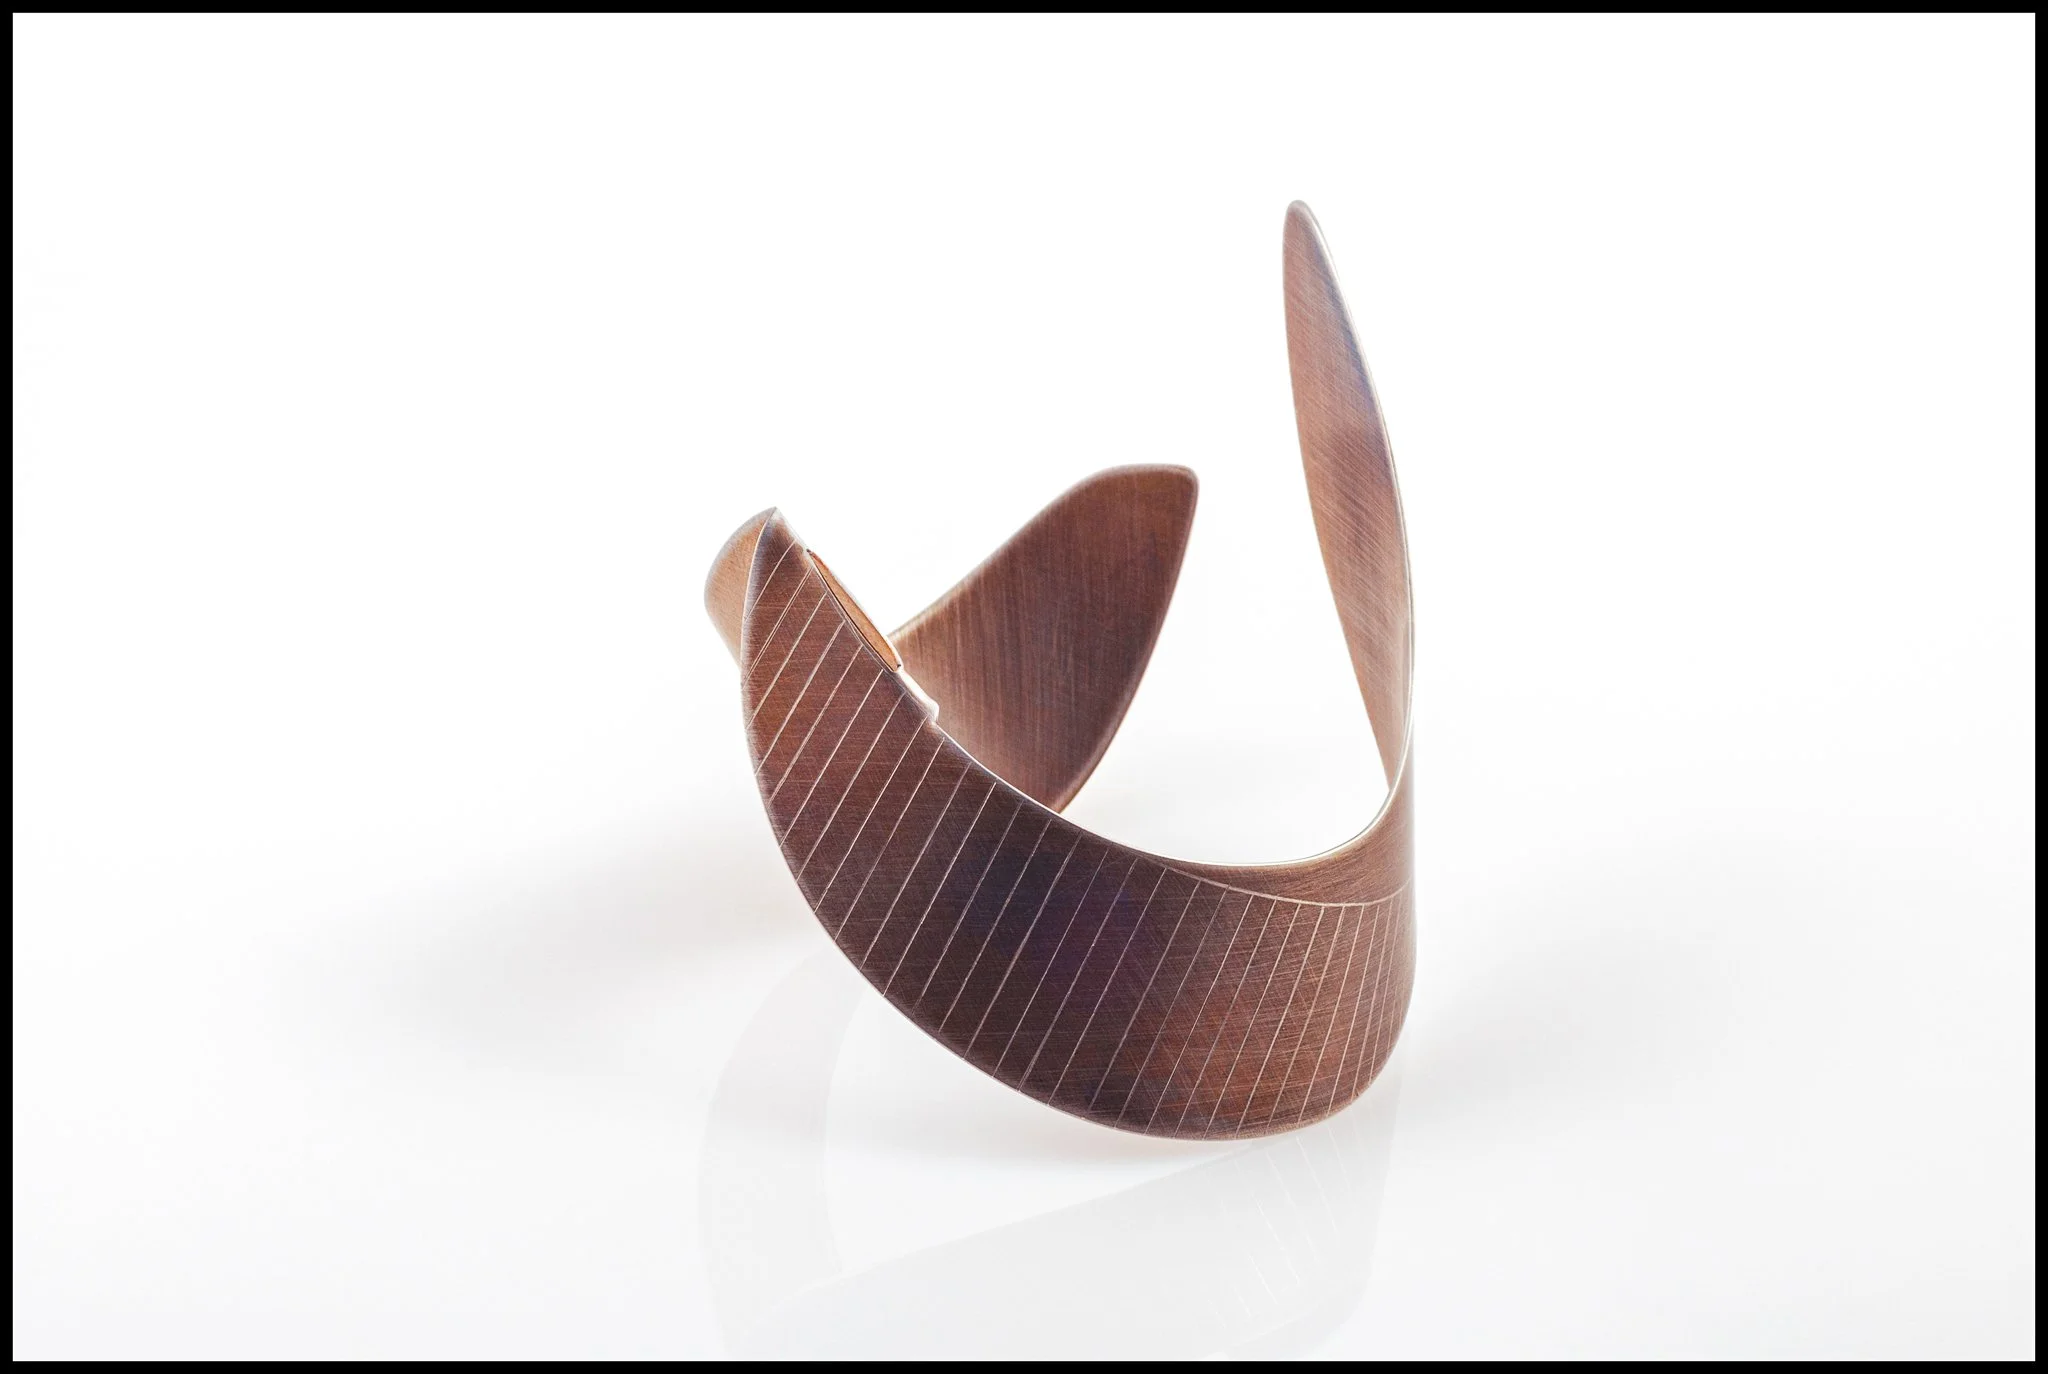
High Contrast Subject: Focus on areas with high contrast for more accurate focus or rather for a seemingly sharper image.
Subject Type: A metal object is easier to make sharp than a face. On a face, if there are no shadows and highlights, the skin will appear flat, and this is what the eye perceives as "unsharp."
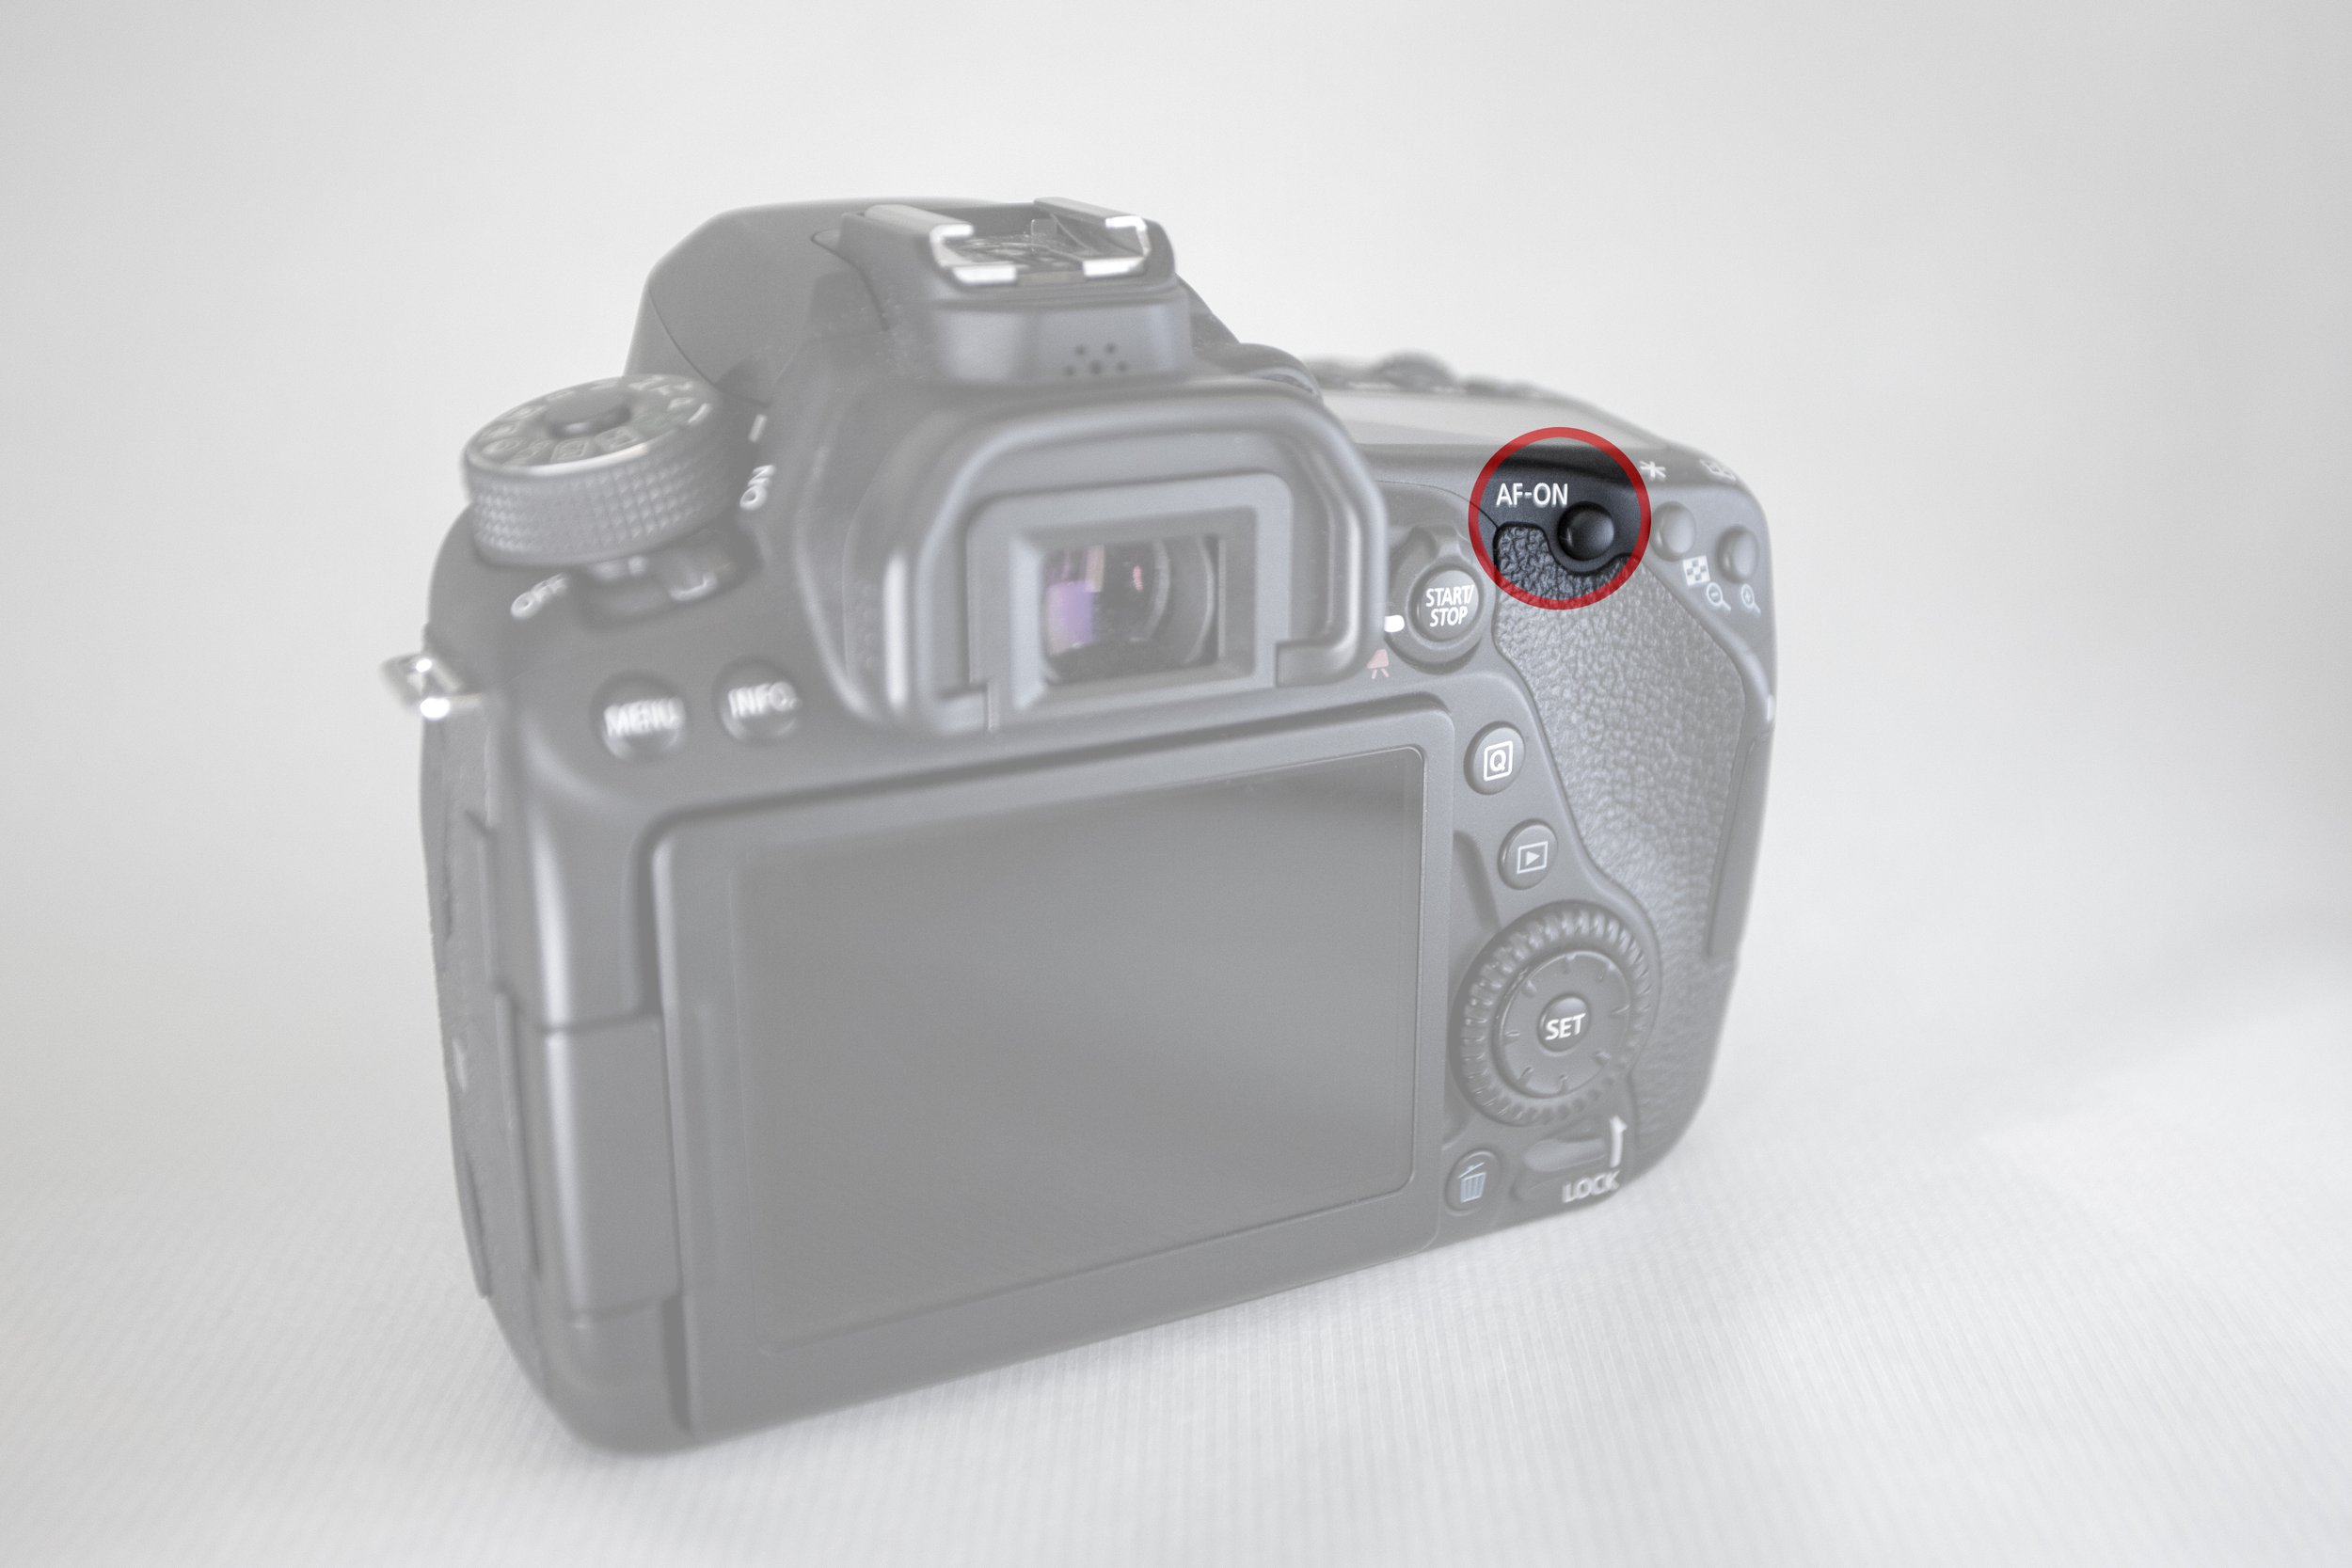
Back-Button Focus: Use the back button on the camera to focus, especially in low light conditions, for greater accuracy. You want separate focus from shutter release.
Focus on Center AF Point: The center focus point is usually the most accurate. If possible, choose it.
Technology: Use all the features a modern camera has to offer: manual focus assist, AF point options, zoom on the LCD screen or viewfinder to verify the correct focus, etc.


Editing: Using Lightroom and Photoshop
After shooting, editing can improve the sharpness of your image. However, it is important to understand the differences between the tools:
Clarity: Increases contrast in midtones, adding depth to the image.
Texture: Enhances details without affecting shadows and highlights.
Unsharp Mask: Applies sharpness to the entire image, but can cause noise.
High Pass Filter: Applies sharpness to specific areas while maintaining image quality.
Note that we almost never apply sharpening to the entire image. It is better to focus on specific areas for best results.
There are so many sharpening techniques in Lightroom and especially in Photoshop that entire books have been written on the subject. In addition, you can find countless videos online, such as this one, this one, this one, this one, and this one.
A tip worth keeping in mind: when editing an image in Photoshop, make sure that your subject (the face in a portrait, for example) is no larger on the screen than the size of your closed fist when holding in front of your face at 15cm.


Exporting and photo size
When you export a photo from your computer, your file options are important. If it is a jpg, quality 60, 1000 pixels by 1000 pixels, no matter how much sharpening you apply, the image will look poor because its resolution will simply be too low. The same applies to prints.
Viewing distance
The viewing distance of a photograph is extremely important. A 60cm x 100cm printed photograph has a different sharpness when viewed from a distance of 10cm than when viewed from a distance of 3 meters. An image on a 22-inch screen at 300% zoom has a different sharpness than the same image on the same 55-inch screen at 100% zoom. Think of the analogy with a television or an advertising billboard.
Reproduction of the photograph
Similarly, the same photo will have different sharpness on plain matte paper, glossy paper, or cotton museum photo paper.
An image will look different on a simple LCD screen than on a calibrated QD-OLED screen.
A few more tips and techniques
Shoot in RAW: Shooting in RAW format allows you greater flexibility in editing and maintaining quality. Avoid shooting directly in jpg format, because you are essentially handing over the creative process to the camera itself and each company's algorithm, while the small size does not help in achieving absolute sharpness.
Shooting angles: Change your perspective to add selective focus to your subject.
Use special sharpening programs: Tools such as Nik Collection (Sharpener Pro), DxO PureRAW, Luminar Neo, ON1 Photo RAW, and especially the well-known Topaz Photo can improve the sharpness of your images. Some of them use AI, of course, so it's debatable whether they actually sharpen, but that's a topic for another post.
Take several shots. If you are trying panning, for example, you are likely to get at least one sharp photo, as long as you make several attempts.

Conclusion
Achieving sharpness requires a combination of the right techniques, equipment, and processing. By practicing and applying the above tips, you will see a significant improvement in the sharpness of your photos. Remember, photography is a continuous process of learning and experimentation. Don't be afraid to try new techniques and explore different perspectives.
Nowadays, of course, it is easier than ever to take a sharp photo, but if you really want to have complete control over the final result, you should keep all of the above in mind.
On the other hand, as a colleague says, "Who cares, they'll see it online, on a mobile phone, at 1000 pixels. It doesn't have to be tack sharp, it doesn't matter."
Finally, don't forget: the more you zoom in, the blurrier your image will look, no matter how sharp it is. Unless it's a frame by Christopher Nolan.

RELATED CONTENT